Wednesday, October 31, 2012

Preservation Secret: Frozen Avocados

Extended Shelf Life for: Avocados
Photobucket
Did you know...you can freeze avocados and use them later?

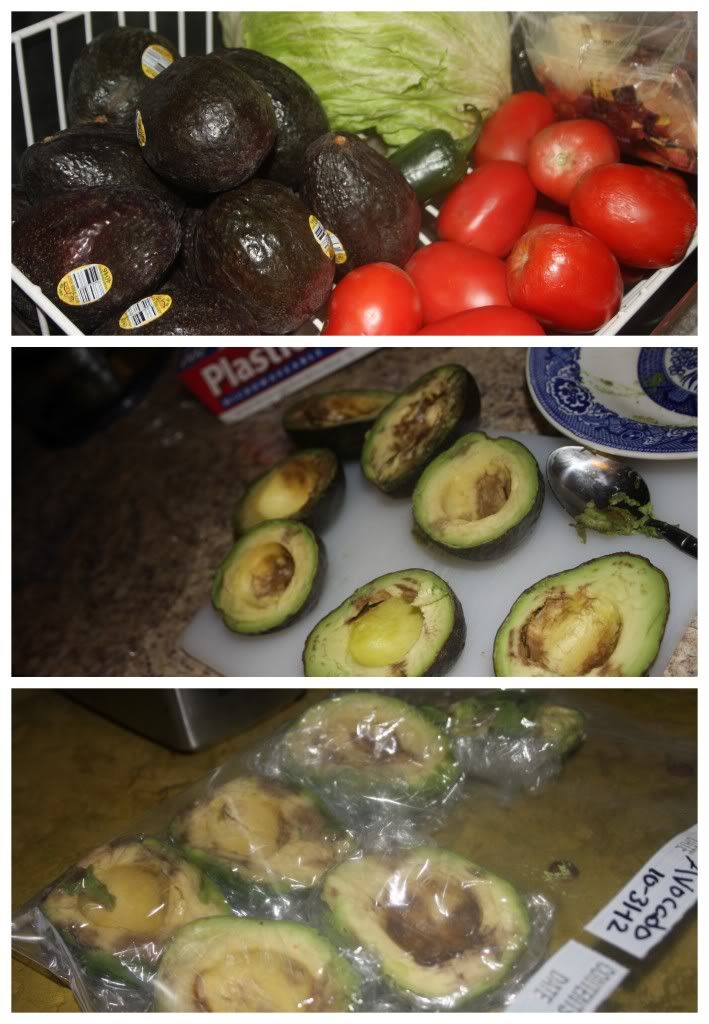
You sure can! Thanks to Pinterest, I learned this lesson. Thanks to dumpster diving we had an abundance of avocados for me to give this preservation secret a shot. My avocados are definitely in worse shape than what other avocado preservers are likely to freeze, however, the process is the same.

Halve you avocado.

Remove the seed.

Scoop out the pulp.

Wrap in plastic wrap.

Place in freezer bag.

Freeze.

Use for breads, brownies or, if your avocados are relatively pretty when you freeze them, you can even make guacamole!

Tuesday, October 30, 2012

Quick and Easy: Beans and Rice

Extended Shelf Life for: Leftover Pico de Gallo
Photobucket
Sometimes, I just need to use up random leftovers, for example some leftover pico de gallo from a night with our friends and a meal of fish tacos. Since we were lacking dinner options and tortilla chips I did some quick thinking and came up with this dish.

Rice from a rice cooker.

Canned refried beans heated in a skillet with pico de gallo juice and a cilantro "ice" cube.

Rice topped with beans, cheese and pico de gallo.

There you go! Enjoy!

Thursday, October 25, 2012

Chinese Tomato and Egg with Fried Kohlrabi

Extended Shelf Life for: Tomatoes and Kholrabi
Photobucket

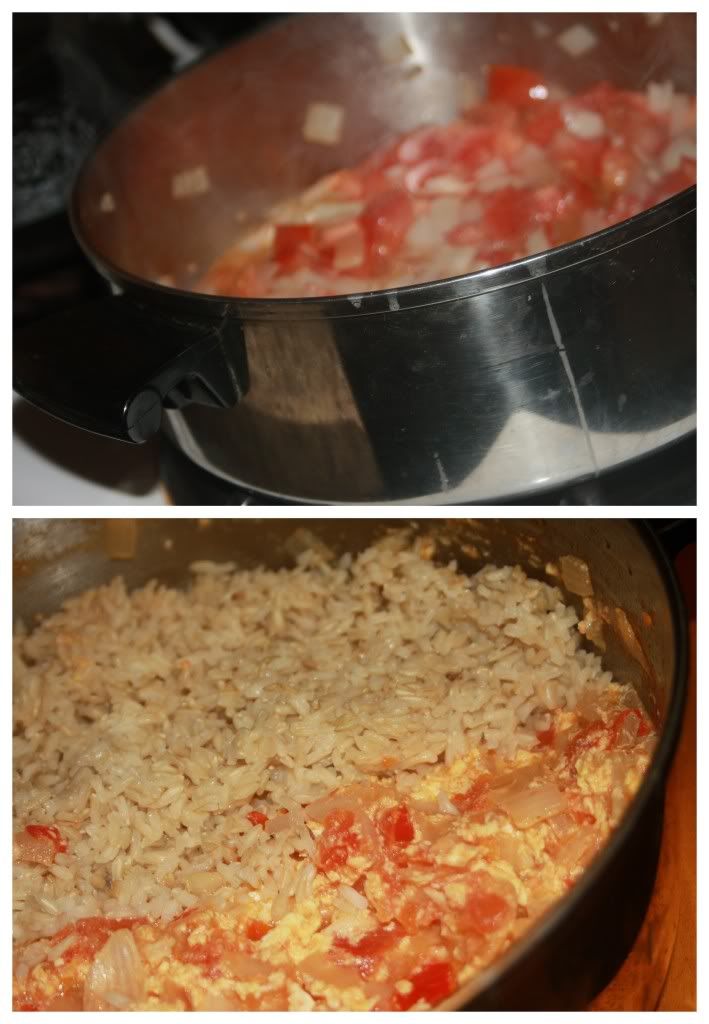
Chinese Style Tomato and Egg dish, much like the Eggplant and Potato Dish, this dish was inspired by our experience at a delicious Proper Chinese Restaurant in South Korea. Unfortunately, the main idea of the night was to have something to eat and I didn't do much research on how to season these eggs and the tomatoes - so mine, in ultimate simplicity, were sauteed onion and garlic followed by tomatoes and finally scrambled eggs, served on top of rice and alongside the upcoming kohlrabi home-fries. But, if you're looking for a more inspiring and flavorful Egg and Tomato dish, this recipe has all the makings of exactly what I was craving and what I so happily discovered in Daejeon, South Korea.

Photobucket
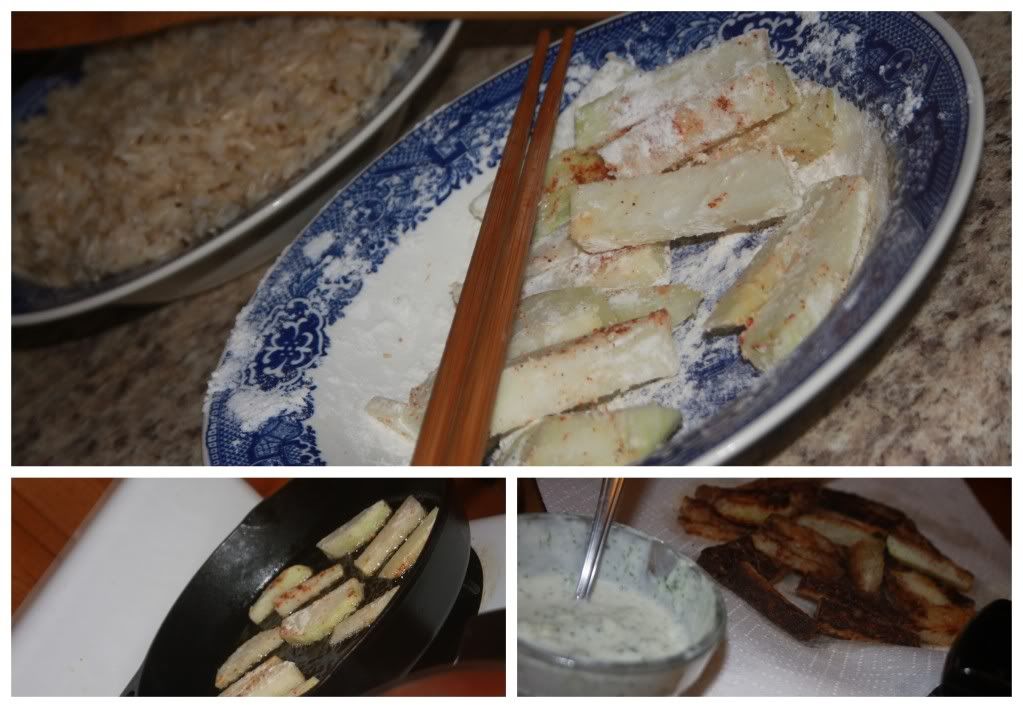
To accompany the eggs and to use up a large kohlrabi that had been gifted to me via my neighbor, I did a little Google exploration and opted for another NYT recipe, this time, rather than preserved red onions, I went for Kohlrabi Home-fries

Ingredients/Directions:

Peel and cut 1 1/2 - 2 pounds of Kohlrabi into thick sticks. Heat 2-4 Tbsp. of Oil over medium heat in a heavy skillet or cast iron pan. Meanwhile, combine 1 Tbsp. of Flour with Salt to taste and toss the Kohlrabi sticks in the mixture. Add kohlrabi to the skillet of rippling oil and cook on both sides for a few minutes until crispy. Drain on a paper towel and serve plain or with your favorite yogurt dipping sauce (if you're in need of a good yogurt sauce, check out this recipe!)

Wednesday, October 24, 2012

Peanut Butter from a Juicer


Photobucket
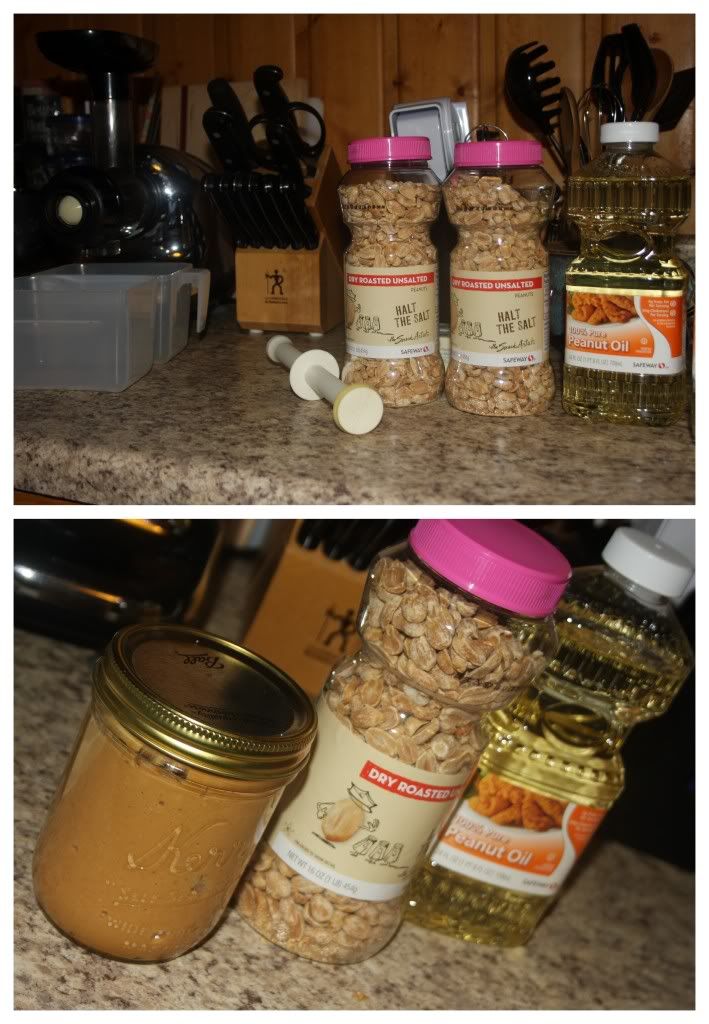
While this is not a recipe to extend the life of anything, I just thought I'd let the blog world know that I do, in deed, make peanut butter with my juicer. (Read more about the juicer we own and operate and how much I love it here!)

As for making peanut butter in a juicer, you may find it's a bit of a chore and takes some patience, but you'll end up with natural peanut butter, that's simply delicious and costs only as much as a jar of peanuts (we were able to get ours for $2.50).

To make the peanut butter, use the mincing nozzle of your juicer (or whatever is recommended by your juicer model.) and run a small handful of peanut butter through your juicer chute at a time. You'll need to run the 'butter' through multiple times as the first few runs will give you a kind of powdery peanut mess. To speed up the process and create a slightly smoother peanut butter feel free to add Peanut Oil to the powdery peanut mix. Continue running the peanut 'butter' through the juicer until you reach your desired consistency - we went at it about 8-10 times.

Enjoy as you would any other peanut butter!

Beef and Chorizo Chili

Extended Shelf Life for: Peppers, Jalapenos, Tomatoes
Photobucket
When it comes to chili, I lack an official recipe. I do however have a few tricks-of-the-trade or preferences and a new discovery (or two!)

To begin, I just got a cast iron kettle and it just makes chili seem that much more delicious, amazing and perfect for the cold winter night.

Next, let me tell you that doing a combo chili which is 50% Beef and 50% Chorizo is brilliant!

Now, on to some tricks-of-the-trade.

I've just recently learned this little gem of advice that comes from my good friend SJ's grandmother:

  • When preparing ground meats, add enough water to cover the base of the kettle or skillet to the meat. As the meat cooks, the water will evaporate and you'll end up having a very uniformly ground meat to support your soup or go into your tacos. (Perhaps this isn't revolutionary to most folks, but there's just something about this perfectly ground meat that makes the chili that much more enjoyable.)

Another trick-of-the-trade, espeically for divers or gardeners:

  • If you have an abundance of peppers, go ahead and roast the whole batch in the oven until they're fragrant, run them through a food processor or a juicer with mincing capabilities, throw them in an ice cube tray and then into the freezer for future use in soups, sauces and of course chili! 
One more thing I like to do for our chili, especially when we have an abundance of tomatoes: 

  • Run fresh tomatoes through a mincing juicer or food processor rather than throwing in canned tomatoes, fresher and ultimately a bit healthier (tomatoes in cans can have dangerous interactions with the aluminum considering the acidity of tomatoes).
And finally, our personal preference when it comes to eating a bowl of chili is to add raw onions, cheese and corn chips.
Friday, October 19, 2012

Banana Chips

Extended Shelf Life for: Bananas
Photobucket
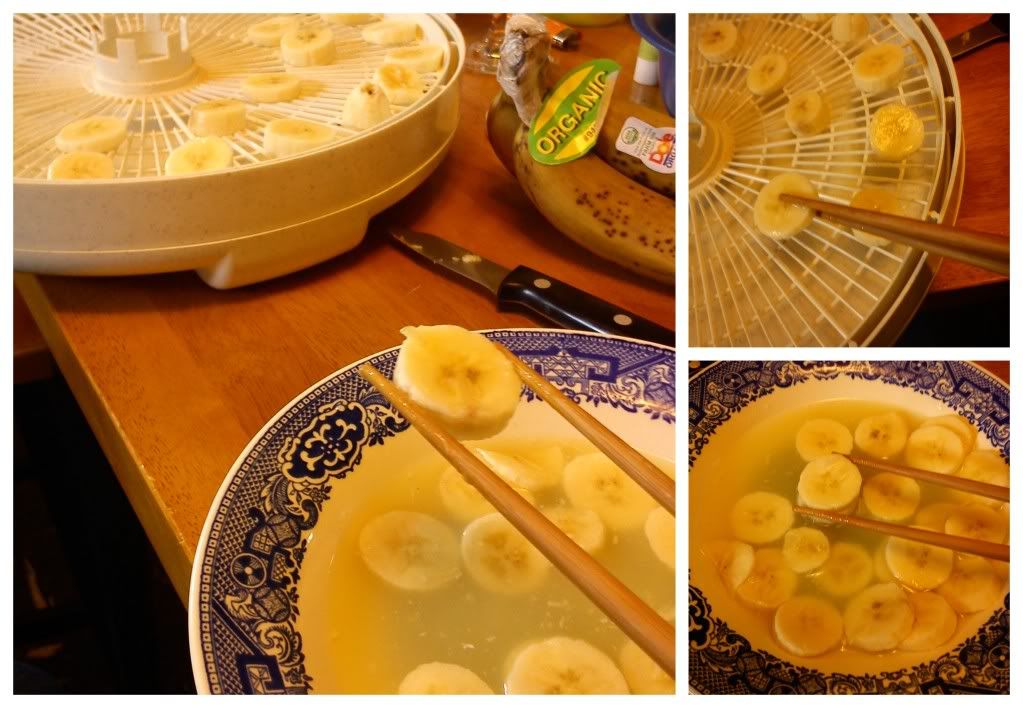
As a diver, it's pretty crucial to have a dehydrator that you love.We have one that features varying temperatures which helps to ensure the best dried products possible. When it comes to drying bananas, I've discovered that the flavor and look is better if the fruit is first dipped in orange juice or another citrus juice prior to being dried. I also recently discovered that having mad chopstick skills ensures that my fingers don't get all gunky when drying bananas! Hoo-zah!

Thursday, October 18, 2012

Salt Preserve Limes and Cubes

Extended Shelf Life for: Limes
Photobucket
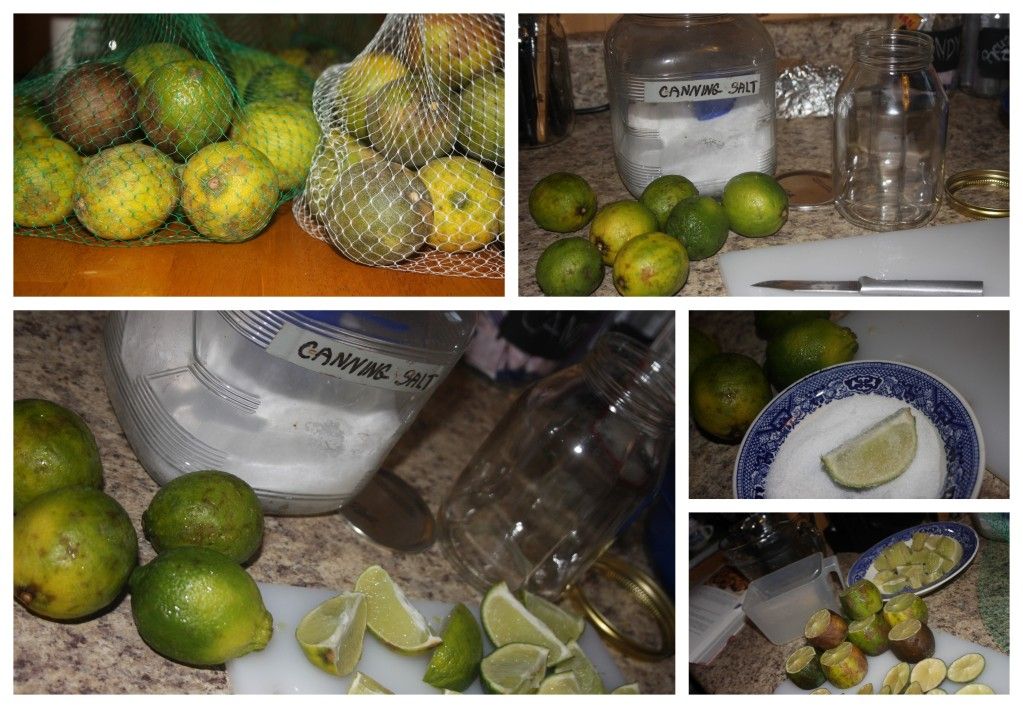
Just as we finished using up our lemons, we had a sudden abundance of limes. Not interested in zesting lime-after-lime, I hit the web and searched for other preservation options. I opted on two preservation options in term of my limes.

First, I peeled and juiced about half or 2/3's of the limes, poured the juice into ice trays, threw them in the freezer then popped the little sucker's out of their trays, transferred to a Ziploc bag and now I have about 20 tablespoons of lime juice ready and waiting to be added to salsa, soups, smoothies, margaritas, whatever the case may be.

Second, I took about a bag worth of limes, quartered them (but didn't cut all the way through), sprinkled with some salt (coarse sea salt or canning salt to be exact). Press the limes down into the jar until the jar is full and leave overnight so the limes have a chance to extract some juice. In the morning, top the jar off with fresh lime juice and store in the pantry until you have a need for some salty lime juice to flavor any of the aforementioned items or whatever you may want to add the zesty flavor of lime.
Related Posts Plugin for WordPress, Blogger...