Tuesday, February 19, 2013

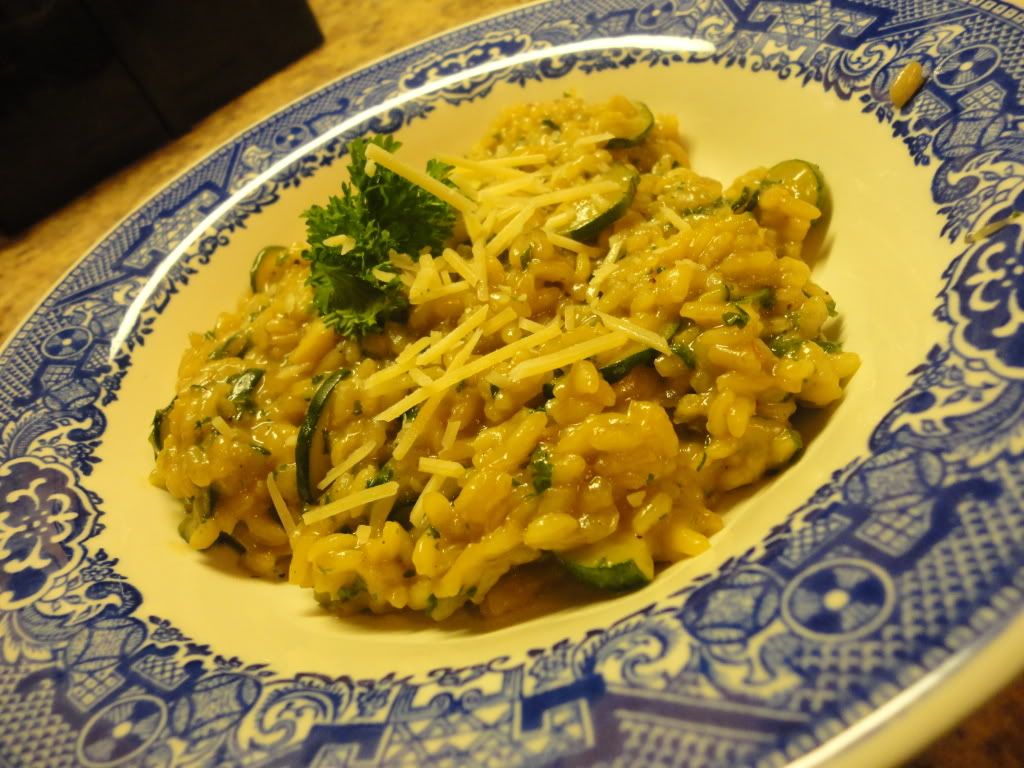
Lombardy Risotto with Zucchini

Photobucket
I feel I have too much experience in the kitchen to not have tried out a Risotto until I was 27 years old...but the truth is, I had never made a Risotto until this very year.

And there's always been a lot of hype regarding Risottos.

And now I get it.
I totally get it!

Freaking. Delicious. Nuff. Said.


Photobucket
Confession:

Growing up, a common weeknight meal centered around pan-fried meat, a canned veggie and box of either Rice-A-Roni or Pasta-Roni.

Risotto is like Rice-A-Roni. On steroids. With pizzazz. And without preservatives.

Every bite was a heavenly reminder of what childhood family dinner was...or could have been.

(Honestly, not complaining - I had the luxury of consistent meals, AT HOME...WITH MY FAMILY, that's pretty awesome and my parents actually taught me a lot about cooking and loving food, so more power to a box of Rice-A-Roni!)

Photobucket

Ingredients/Directions: 
From  Cuisine of the Alps

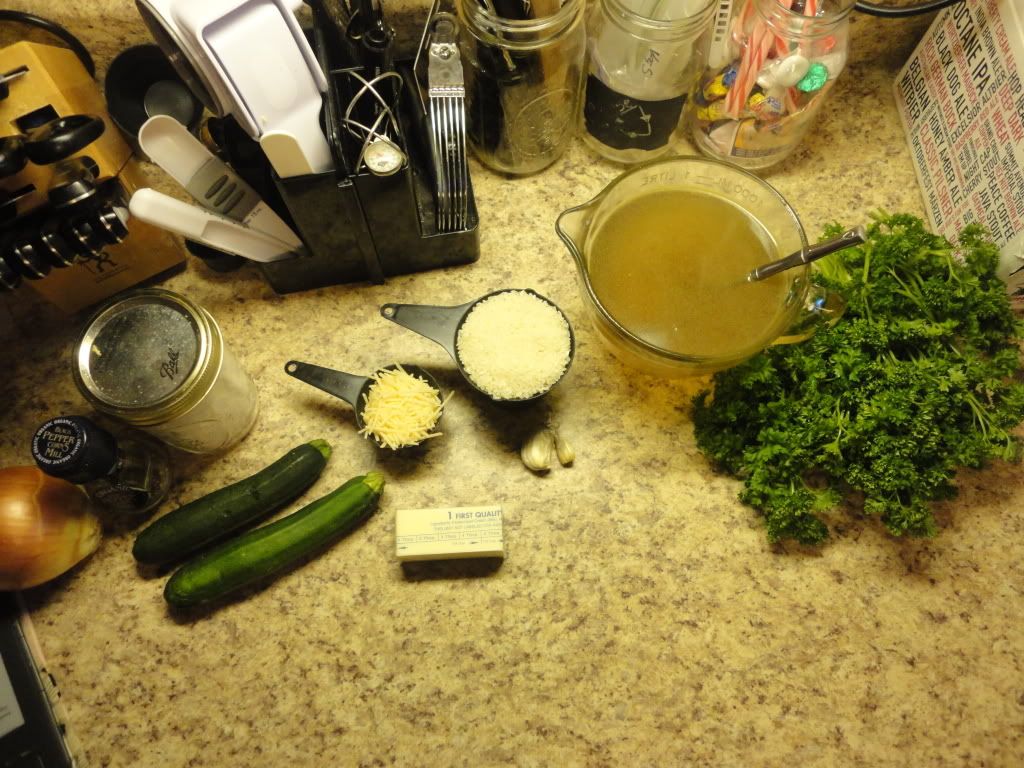
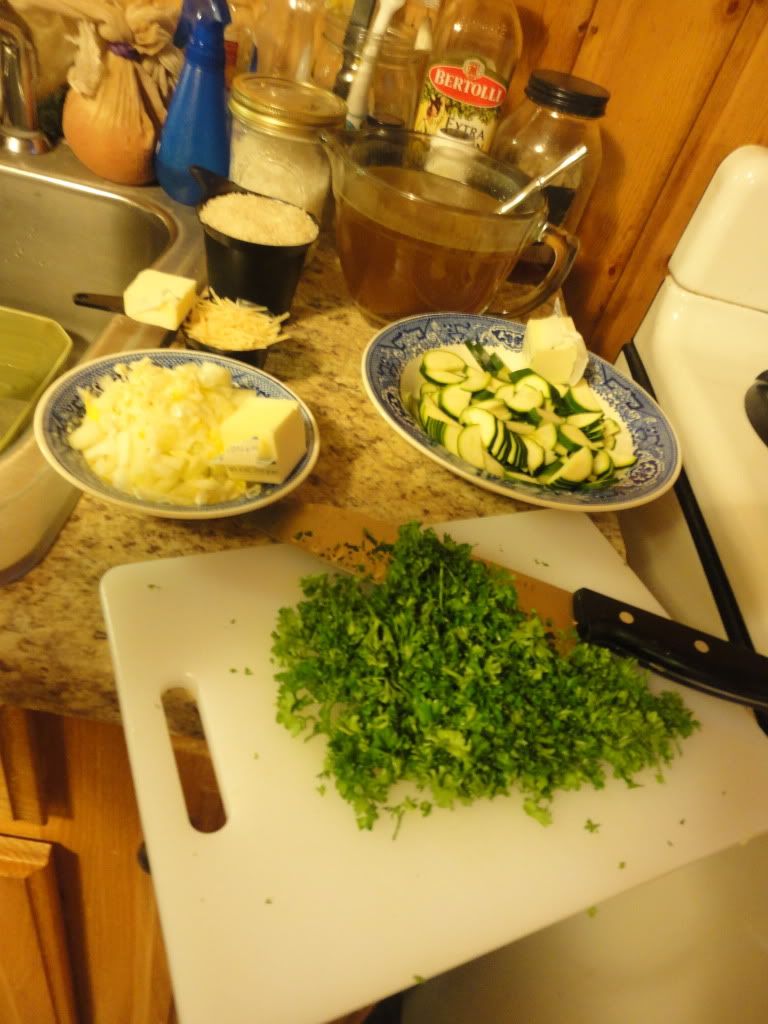
Remove stems from 3 small Zucchini and slice thinly. In a large skillet melt 2 Tbsp. Butter over medium high heat. Add the zucchini slices, saute 2-3 minutes until golden. Remove from skillet and set aside. Add 2 more Tbsp. Butter and saute 1/2 cup minced Onions and 1-2 cloves of crushed Garlic for 5 minutes. Add 1 cup short-grain Rice, saute until grains become golden. Pour in 2 cups of Broth. Cook, uncovered, stirring occasionally, 10 minutes. Add 1 more cup of Broth, the zuchini, and 1 cup finely chopped Parsley. Season with salt and pepper. Continue cooking until all the liquid is absorbed. Add remaining 1 cup of Broth. Continue cooking a little longer, until the rice is just tender. Stir in the remaining 1 Tbsp. Butter and 1/4 cup grated Parmesan Cheese. Serve while still moist and creamy.
Friday, February 15, 2013

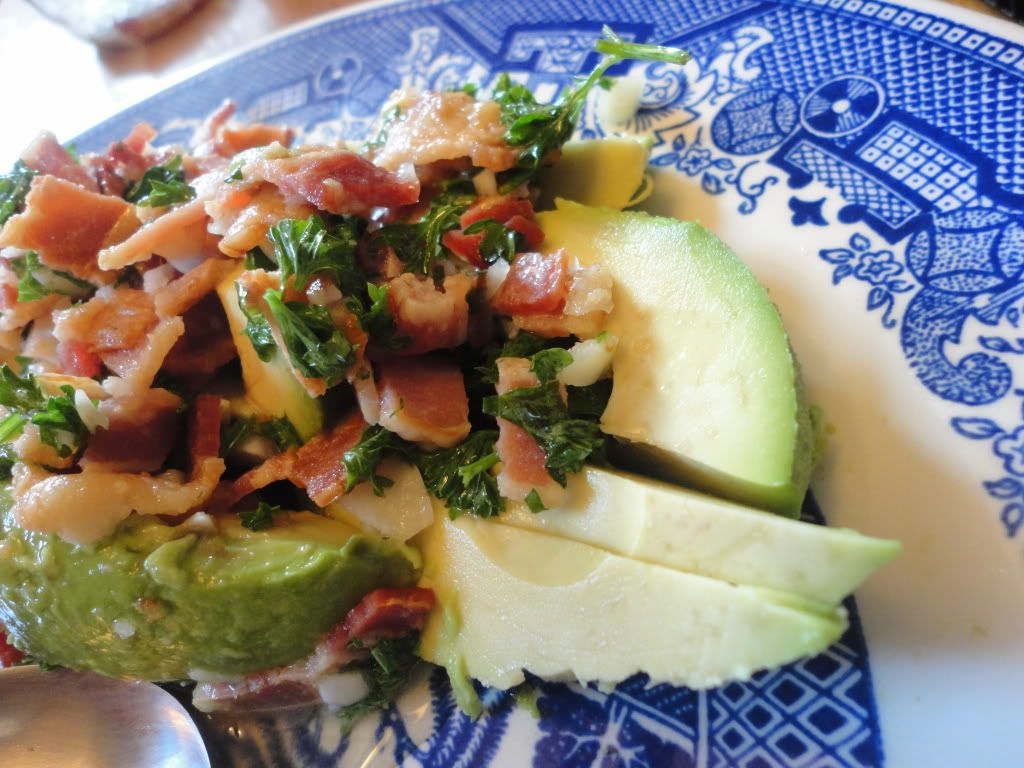
Avocado Salad with Bacon Dressing

Photobucket
So, something I wanted to do with all of our foods this year was include foods with aphrodisiac qualities - I apologize if you didn't really want to know that about me or us, but it's the truth of how I went about planning this meal. So I conducted some research and discovered loads of great recipes, including this recipe for Avocado Salad with Warm Bacon Dressing.

Interestingly enough, we had filled up on all the other dishes of the night and didn't have room for this one one top of stuffed peppers, slices of bread topped with apples and brie, stuffed figs and wrapped asparagus. So, it became the following days lunch. And it was oh-so-delicious.

Ingredients/Directions

The Avocado salad is easy, just thickly slice an Avocado.

For the dressing, you'll need to cook 1/3 lb. Bacon in a large skillet and let cool/drain on paper towels. This isn't the time for soft, chewy bacon, you definitely want it to be a bit crisp. Now, you'll need to save at least 2 Tbsp. of Bacon Fat for the dressing, although, if you just pour it all into a glass jar or tin can, you could save it up and make delicious things like Tortillas...or even cookies, but that's up to you.

Heat the bacon grease in a small sauce pan and add 1-3 cloves of minced Garlic (three is REALLY strong, but that's what the original recipe calls for - so adjust as desired), 1/4 cup Water, 2 Tbsp. Lemon Juice (or Homemade Vinegar...or not homemade) and 1 Tbsp. Sugar, simmer until sugar is dissolved.

Season with Salt and Pepper and stir in 2 Tbsp. of chopped Parsley.

Drizzle over Avocados and ENJOY!


Thursday, February 14, 2013

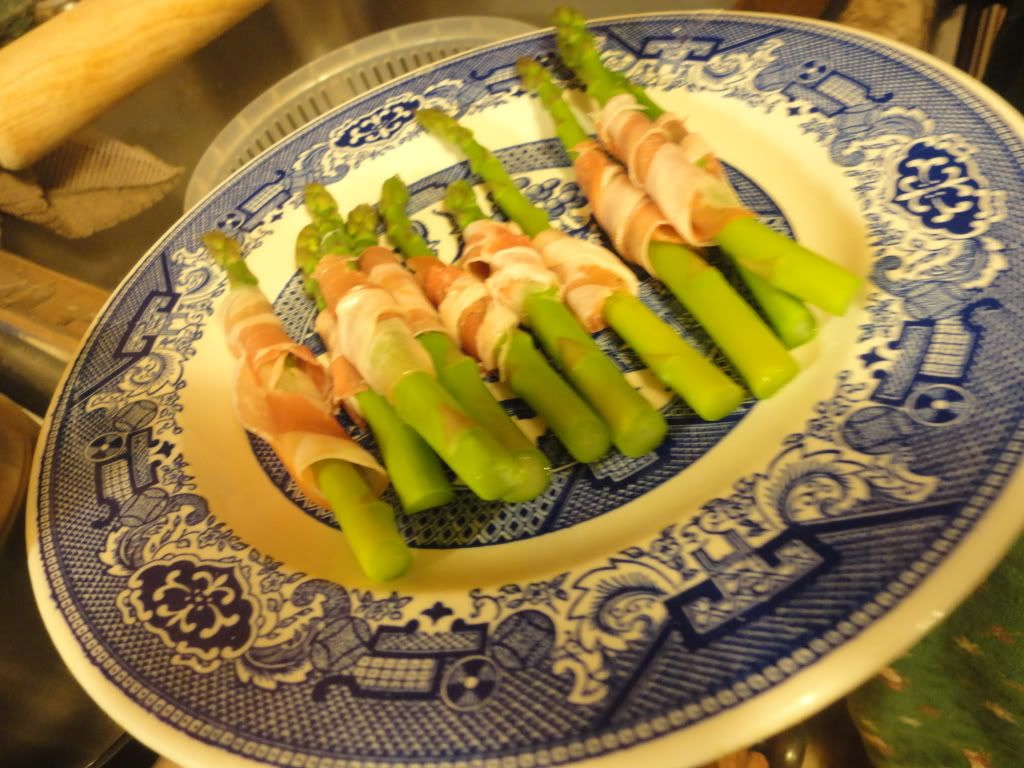
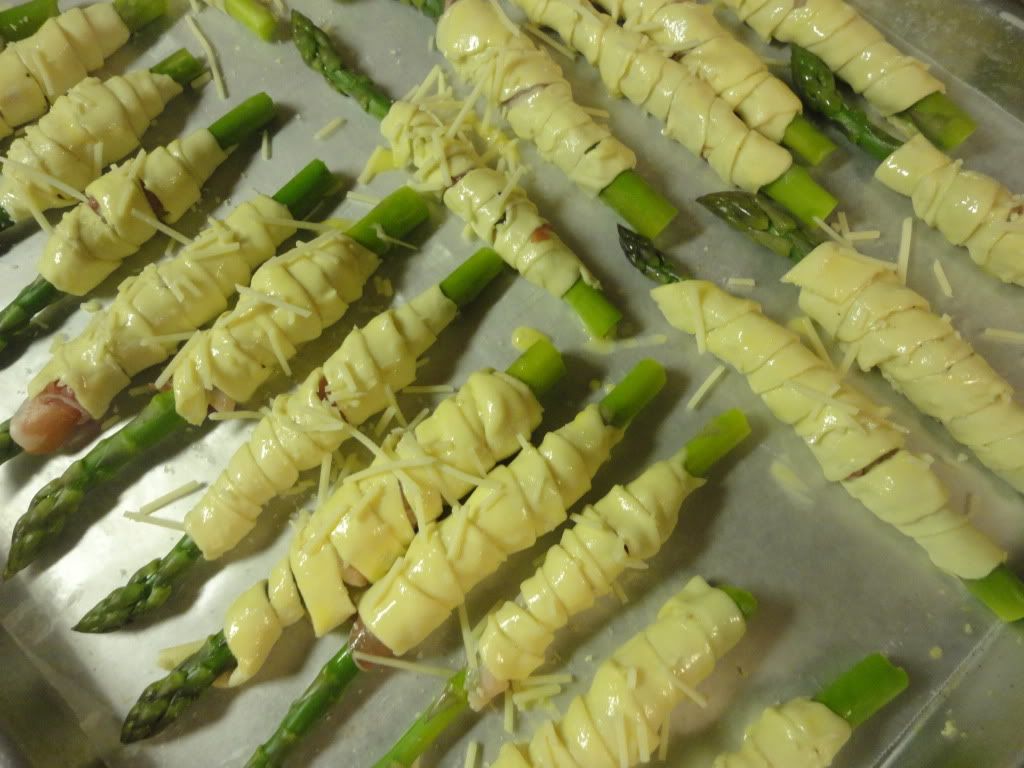
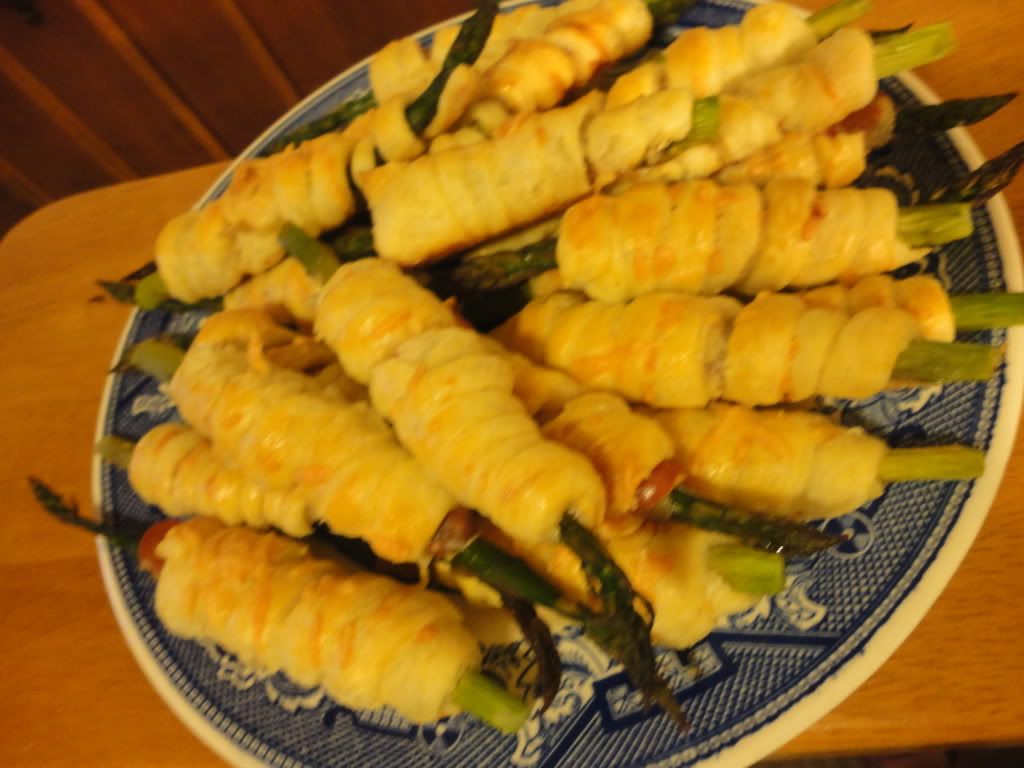
Pancetta and Puff Pastry Wrapped Asparagus

Photobucket

And then we made these.

And they were DELICIOUS.

Step 1: Steam the Asparagus
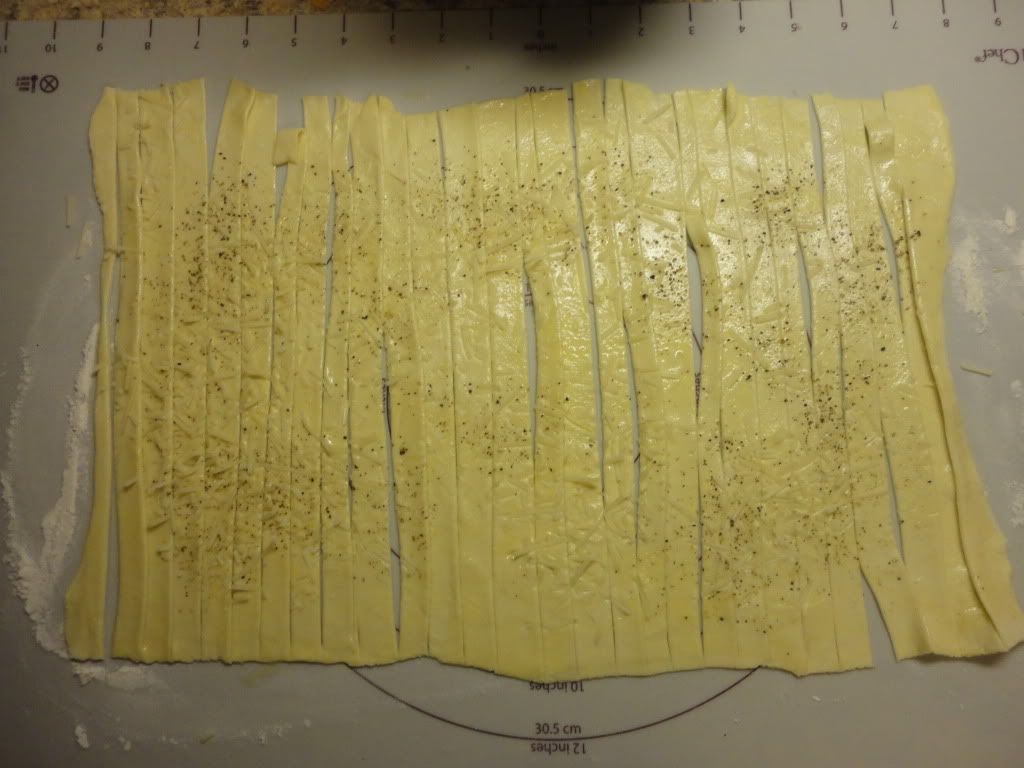
Step 2: Roll our Puff Pastry, sprinkle with salt, pepper and Parmesan. Slice. (enough strips per stalk of Asparagus.

Photobucket

Step 3: Wrap Asparagus in Pancetta.
Step 4: Wrap Pancetta wrapped Asparagus in Puff Pastry.
Step 5: Brush with Egg Wash and sprinkle with Parmesan.

Photobucket

Step 6: Bake at 325 (or whatever is recommended by the puff pastry package) until golden.
Step 7: Enjoy...there's no other choice.

Photobucket

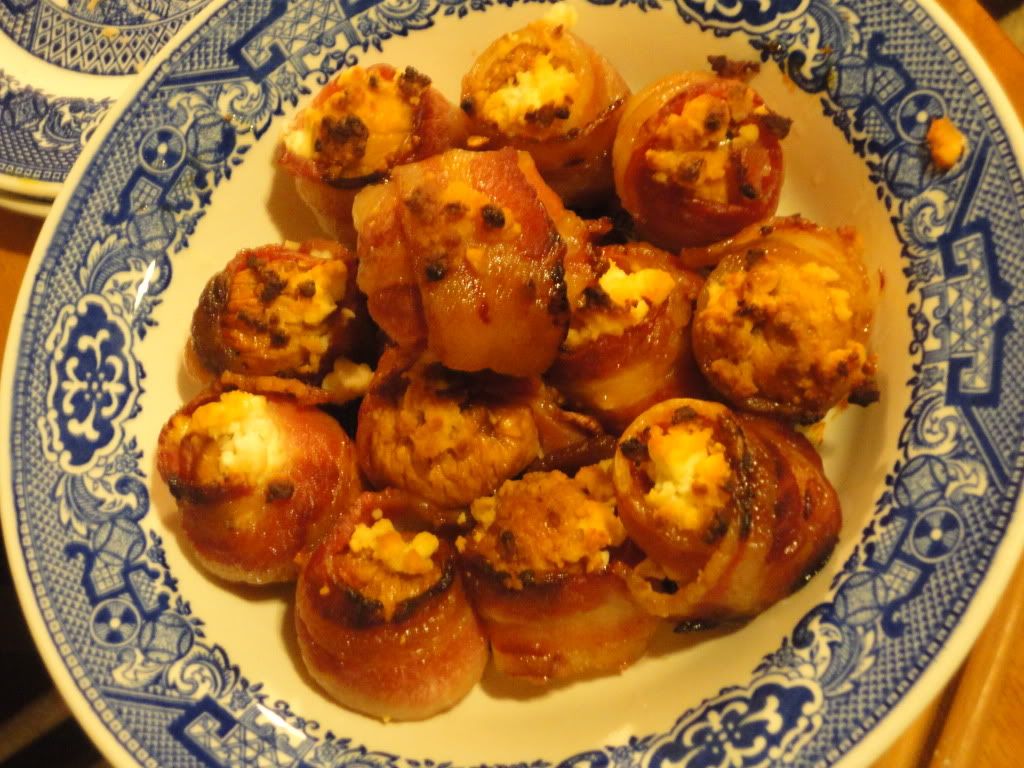
Feta Stuffed Figs Wrapped in Bacon

Photobucket
So...if you haven't caught on yet, out annual Valentine's Meal was a showcase of appetizers which we ate in various courses starting with the Apple Brie Bread and Feta Stuffed Peppers.

Next, we started on some meaty, bacon-wrapped dishes such as these delicious morsels.

Figs, stuffed with Feta, wrapped in Bacon - easy as it sounds.

Bake at 425 until the bacon is fully cooked.

Photobucket

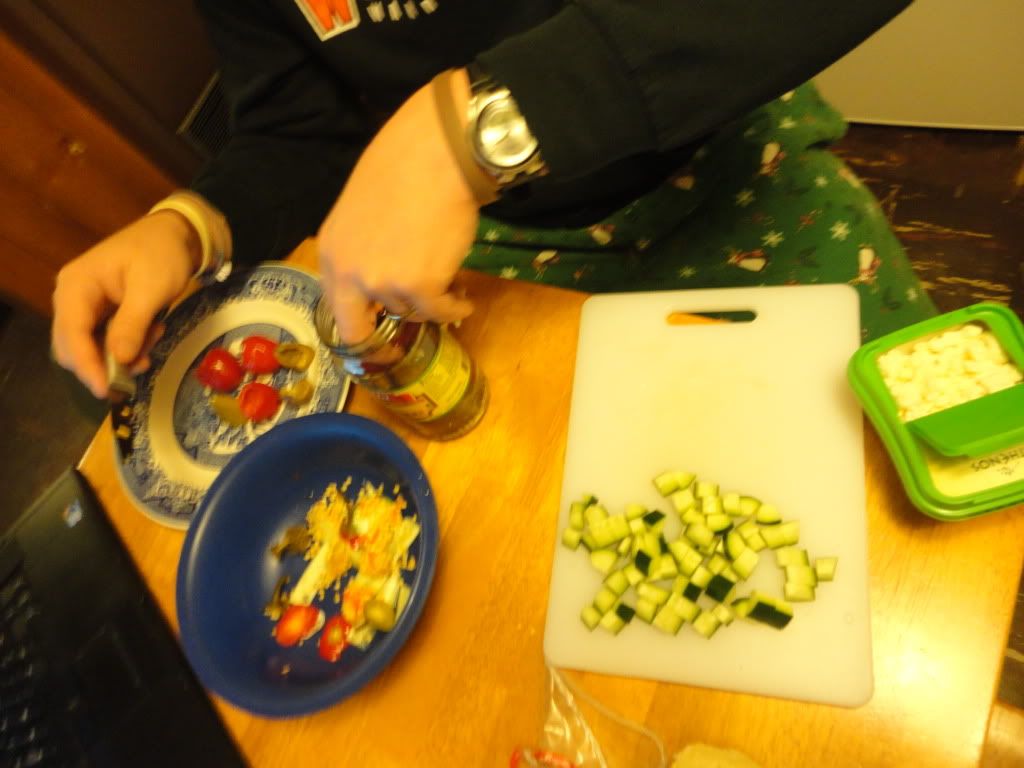
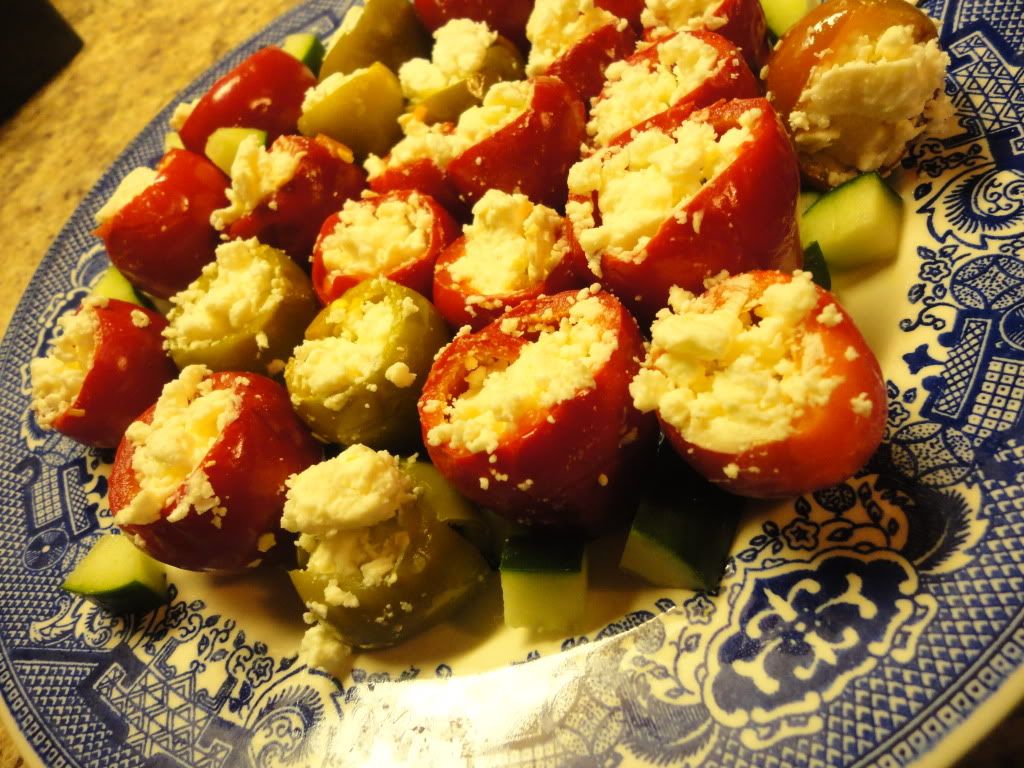
Feta Stuffed Cherry Peppers

For one of our first "Valentine Dinner Extravaganza's" we made these spicy, flavorful little morsels and were not, at all, bummed to make them a second time.

They're vinegary, pickly, not-to-spicy, refreshing and creamy.

They are easy.

Photobucket

The original recipe suggests Peppadews, but our lack of grocer options have lead to our using Cherry Peppers.

Once you have your pickled peppers there are just a few steps:

Step 1: Remove seeds from peppers.
Step 2: Remove seeds from one cucumber and dice.
Step 3: Place 2-3 cucumber cubes in the shell of each pepper.
Step 4: Stuff remaining space of the pepper with Feta cheese.
Step 5: Place in mouth, bite down and enjoy!

Photobucket

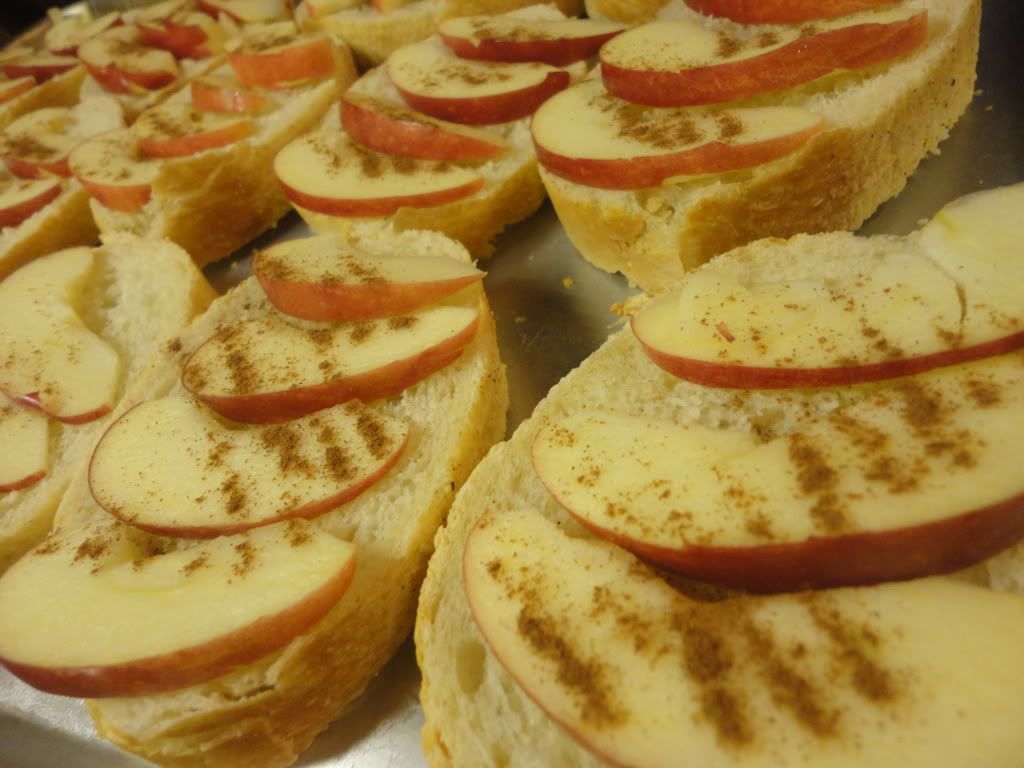
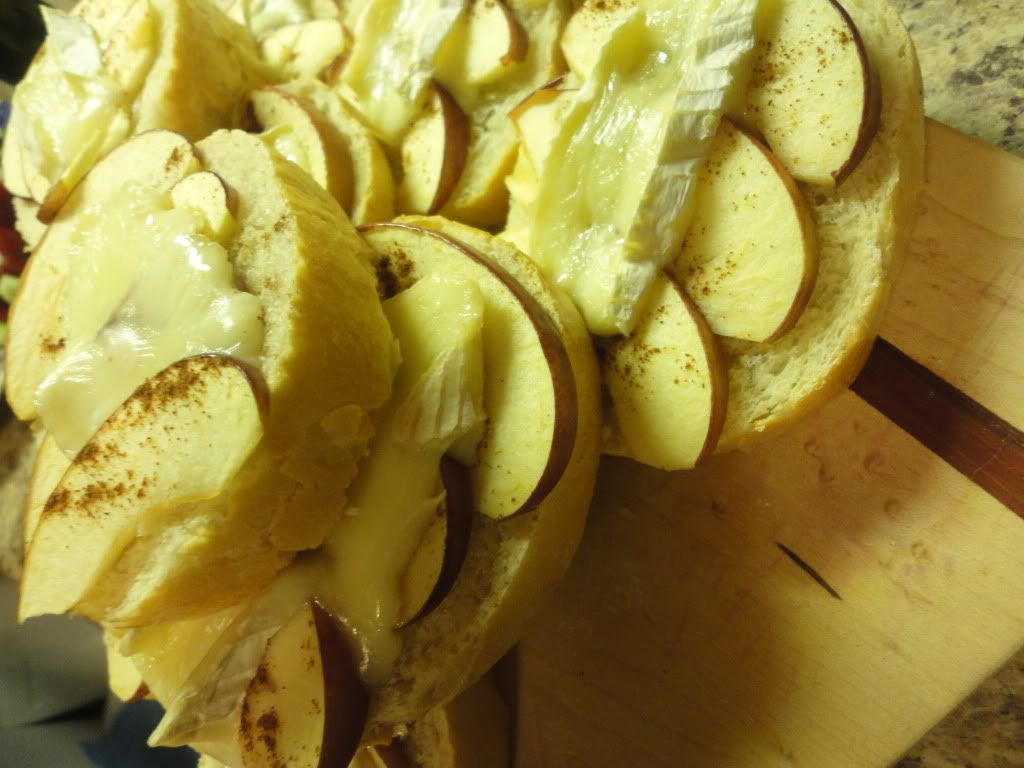
Apple and Brie Toasts

Photobucket

One of our all time favorite food combinations is Apples + Brie.

Occassionally, we'll buy a round of brie, dice up some apples, sprinkle the apples with cinnamon and nutmeg, surround the brie by the seasoned apples - bake and dig in with a baguette.

Want something that required an ounce less chopping but held the same flavors - we put this together for annual "Valentine's Dinner Cooking Extravaganza".

Photobucket

Sliced bread.
Topped with sliced apples.
Sprinkled with Cinnamon.
Topped with sliced brie.
Baked for 10-ish minutes until cheese is melty.

Easy Peasy and Absolutely delicious!

Tuesday, February 12, 2013

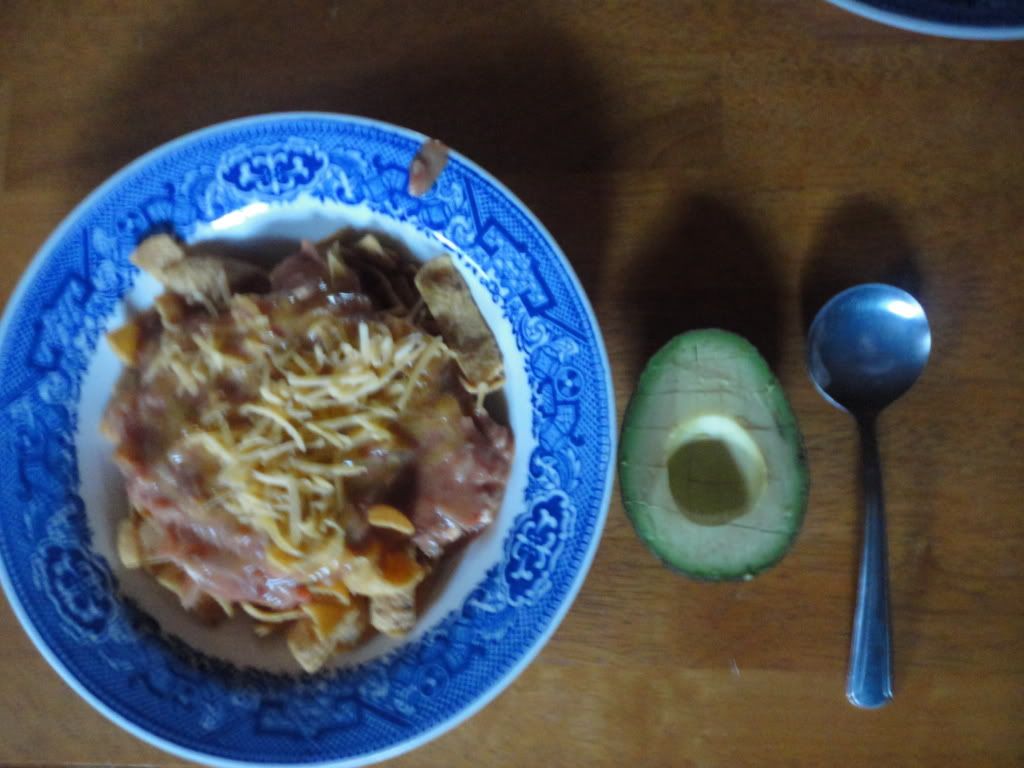
Refried Chili

Extended Shelf Life: Avocado

Photobucket

Because sometimes, even when you take crappy photos, the dish was worth documenting and making a little reminder to yourself that quick meals can be delicious and can even incorporate canned foods you'd rather not admit are in your pantry ;)

So, if you find yourself hungry with a pile of tomatoes, a few ripe avocados, a can of refried beans, a block of bream cheese, a can of tomato sauce and a ice cube of roasted jalapenos, rest assured that cooked together, served on top of Fritos with cheese and fresh avocado - it will yield a meal that you can easily enjoy.

Monday, February 11, 2013

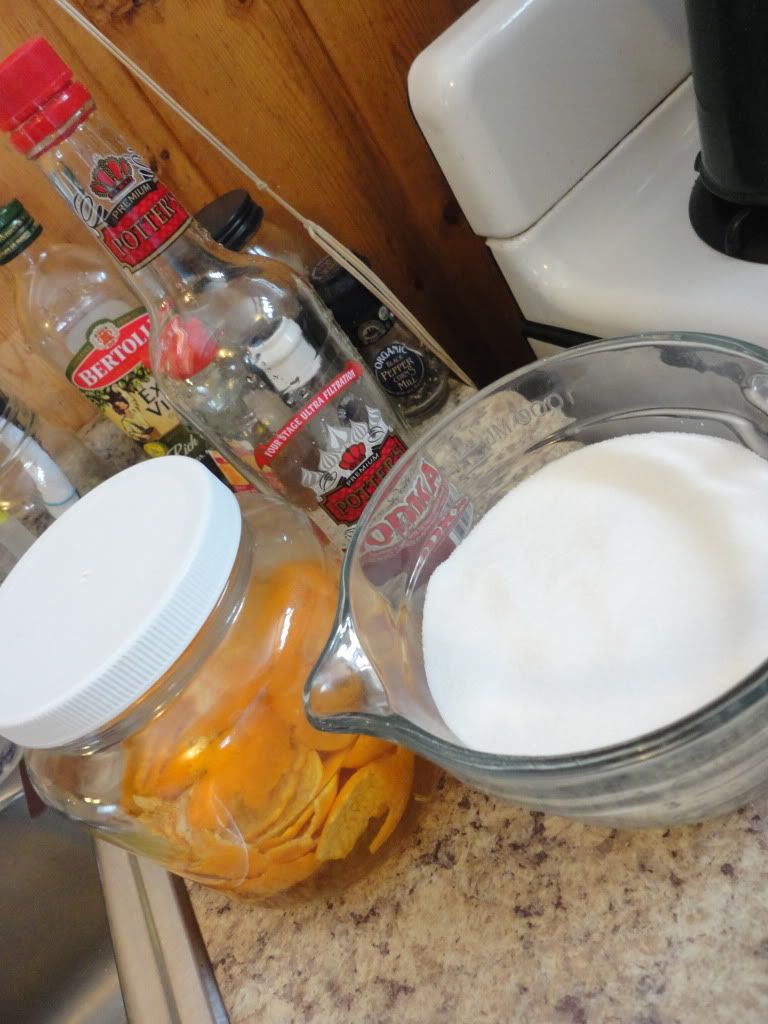
Orange Liquor

Extended Shelf Life: Oranges (peels specifically)

Photobucket

Remember how we dived a bunch of oranges?

It's lead to exciting creations such as Orange Marmalade and Tangerine Salsa.

But this round of dumpster diving and experimenting has lead me to explore the art of using the entire fruit or vegetable. To find ways to use peels and scraps, pulp and cores. 

Vinegar has been a life saver for this.

So is making home-made stock.

But, obviously, in our house, we also enjoy a good Alcohol experiment or two what with the brewing and all.

So, with more peels than I could handle, I figured it was time to soak some in Vodka and see what I could create.

Based on this recipe, I went forth with a simple experiment which basically involved soaking a large handful of tangerine peels in the Vodka from one 750 ml bottle for a couple of weeks. I think made a simple syrup with water and sugar, added it to the tangerine Vodka and we ended up with a sickly sweet bottle of Orange Liquor which turns out makes a fabulous drink when poured over lime ice cubes.

So there you have it! Just another way to use up things you'd otherwise trash, candy or compost!

Thursday, February 7, 2013

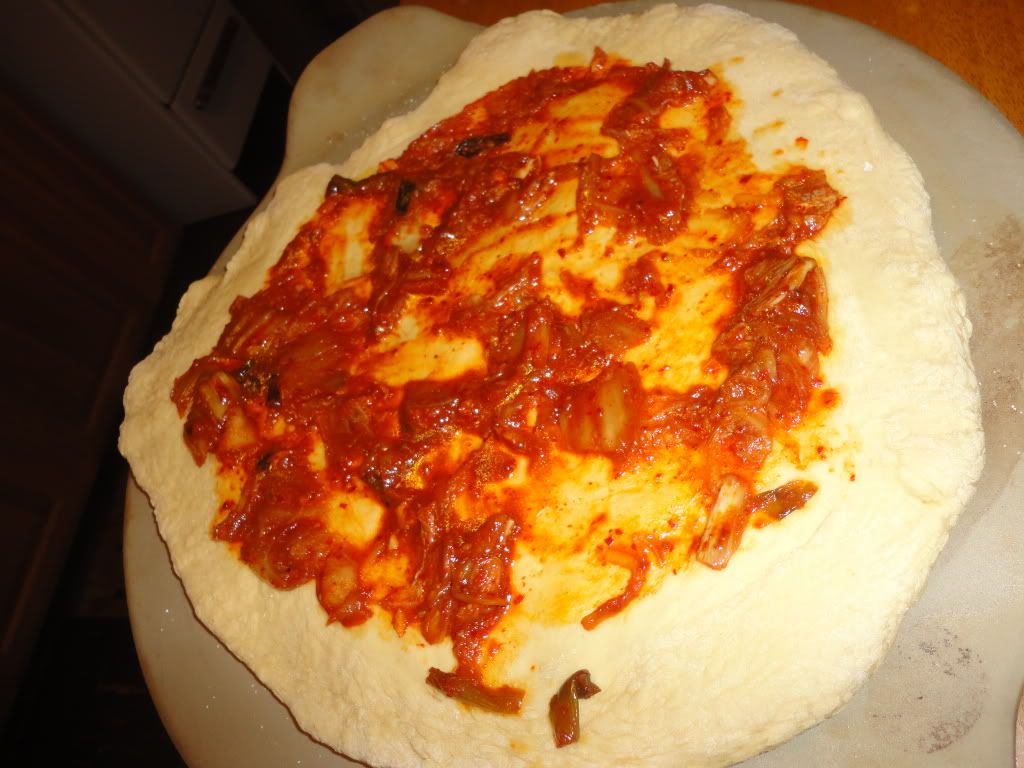
Pizza Experiment #6: Kimchi Pizza with Bacon on a Beer Bread Crust

This is a dearly beloved brain-child of mine which I believe will have only a handful of lovers, yet for me, it is worth it!

I've lived in South Korea. I've mastered the art of making and fermenting Kimchi. And now I'm bringing the two worlds - East and West - together in a truly delectable fashion.

I was pleased with this pizza experiment. And truth be told, so were our guests (all family...who did visit us in South Korea). Definitely something that has potential to be a 'signature' dish.

And, I tried out another Beer Crust, with much success!

Photobucket


Raised Beer Bread Pizza Crust:

You can either throw these ingredients into your bread machine per bread machine directions (our machine requires wet ingredients on bottom). Or you can follow these simple directions:

Mix together 4 cups Flour, 2 1/2 tsp. Active Yeast, 1 tsp. Baking Powder, and 1 1/2 tsp. Salt. Add to these dry ingredients 2 Tbsp. Olive Oil and 1 1/2 cups Beer, mix together.

Turn out onto a floured surface and knead about 10-15 minutes.

Place in lightly greased bowl, cover and let rise until about doubled 2-3 hours. Proceed as with other crusts.

For the 'sauce', I heated up a bit of Sesame Oil before tossing in some fermented Kimchi, Soy Sauce and Go-ju-chang (Korean red pepper paste). This was then spread on the crust, topped with Mozzarella Cheese and Green Onions.

Photobucket


Definitely unique and ultimately, delicious!

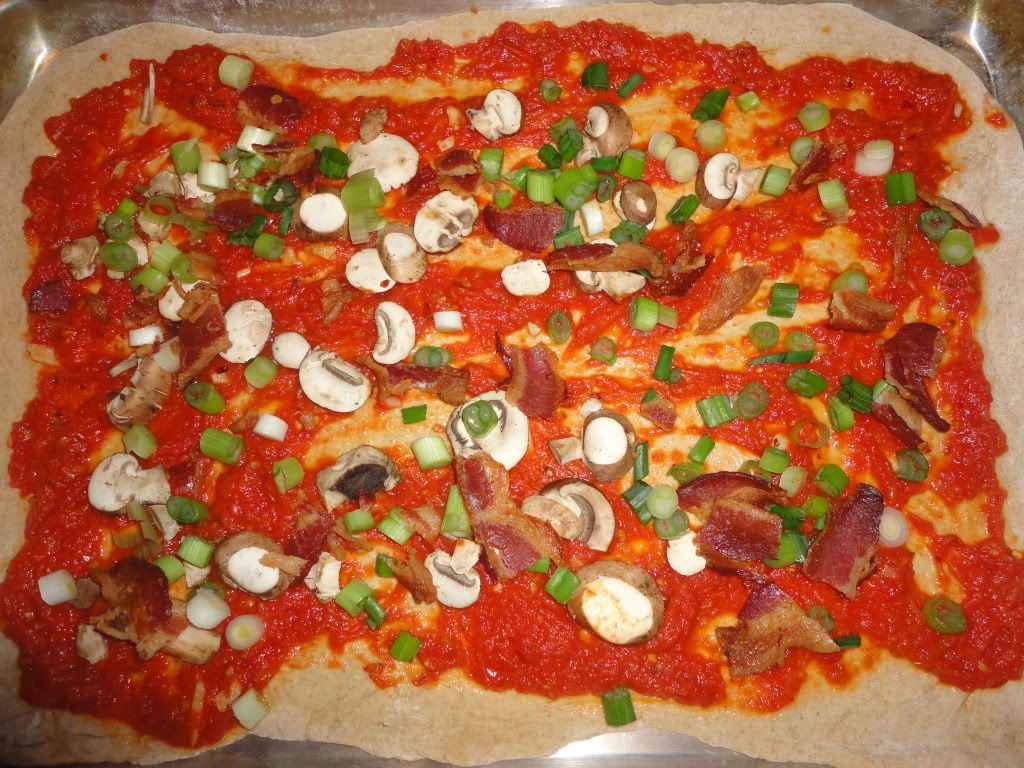
Pizza Experiment #7: Bacon, Mushroom and Green Onion on a Quick Beer Bread Crust

Extended Shelf Life for: Bacon, Tomato, Mushrooms

Photobucket


Interesting piece of information: On Facebook I follow a few different Pizzeria's. On the day I set out to create this pizza, one of these pizzeria's posted that the daily special was...you guessed it! A Bacon, Mushroom and Green Onion Pizza - with RED SAUCE! Unbelievable!

Anyway, I made the sauce from scratch, using the same recipe as did for Pizza Experiment #2.

I placed that sauce on top a new crust:

Quick Beer Bread Crust:

Preheat oven to 450.

Mix together 3 cups Flour, 1 Tbsp. Baking Powder and 1/2 tsp. Salt.

Slowly mix in 12 oz. Flat Beer, dough will be sticky.

Knead the dough on a floured surface. Split dough for thin crust or use as one thick crust pizza, roll out, top and bake!

From there, all I had to do was add the Toppings:

Bacon, Mushrooms, Green Onion and Mozzarella Cheese!

Easy-peasy and delicious to boot!

Monday, February 4, 2013

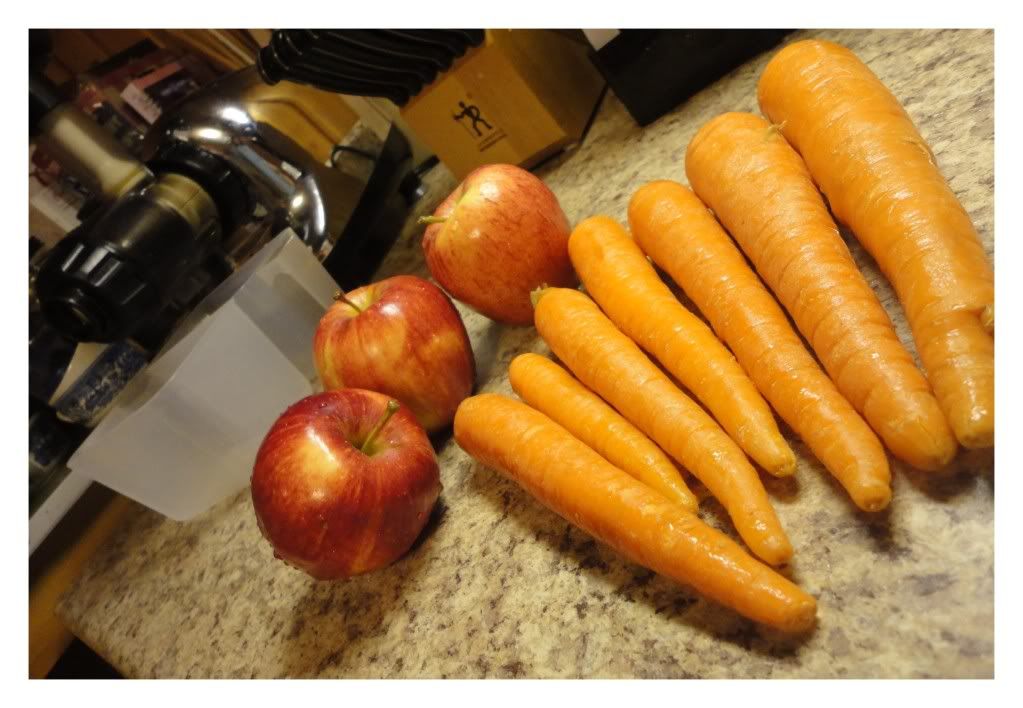
Detox Juice: Carrot and Apple

Photobucket


Just another week of trying out the juice detox. We've enjoyed the detox...kind of, more like, the day after a detox is quite nice, but the actual day of detox leaves us with a headache and ready to retire to bed early and STARVING the next day.

Regardless, Carrots and Apples are a good juice combination whether your detoxing or just want a fresh cup of juice.
Related Posts Plugin for WordPress, Blogger...