Thursday, June 30, 2011

Tawainese Pancake

Photobucket

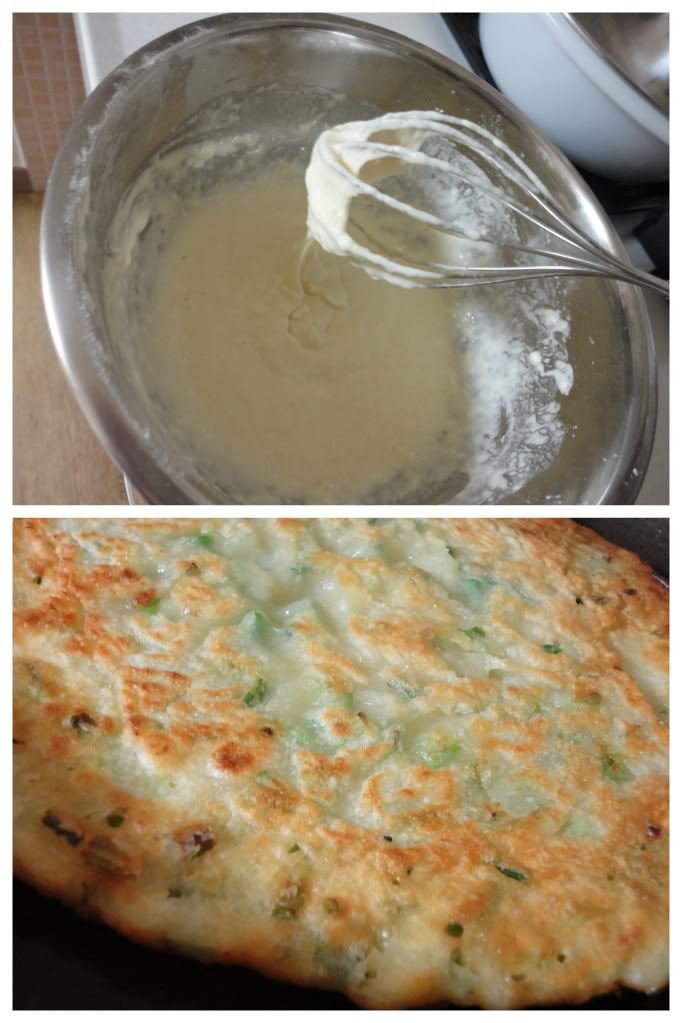
Recent CouchSurfing adventures introduced this thick, savory, scallion pancake to me, and for whatever reason - I can't get enough...I also can't quite get the ratio down, nor have I done any measurements...so, here it is, one of many super incomplete recipe postings - just go for it! You can't really go wrong with pancake batter...

Flour + Water...this type of pancake requires a thick batter. I just dump in some flour, perhaps a cup (makes 1 pancake large enough for two to share) and then half a cup to a cup of water. Again, the batter is thick, although I think mine has generally been too thick.

Once you've come to terms with the thickness of the batter, let it set for half an hour or so taking in the view/air/potential yeast in the air.

Throw in a fair handful or two of sliced green onions, add 1-2 Tbsp. olive oil, mix and pour into a well greased and hot skillet. Cook on both sides until crispy and no longer doughy in the center - perhaps 5 - 10 minutes on each side. Cut with a pair of kitchen shears and enjoy the pancake any time of day by dipping into a serving of garlic-infused soy sauce!

Wednesday, June 29, 2011

Peanut Butter and Jelly -- Nothing Special


Photobucket

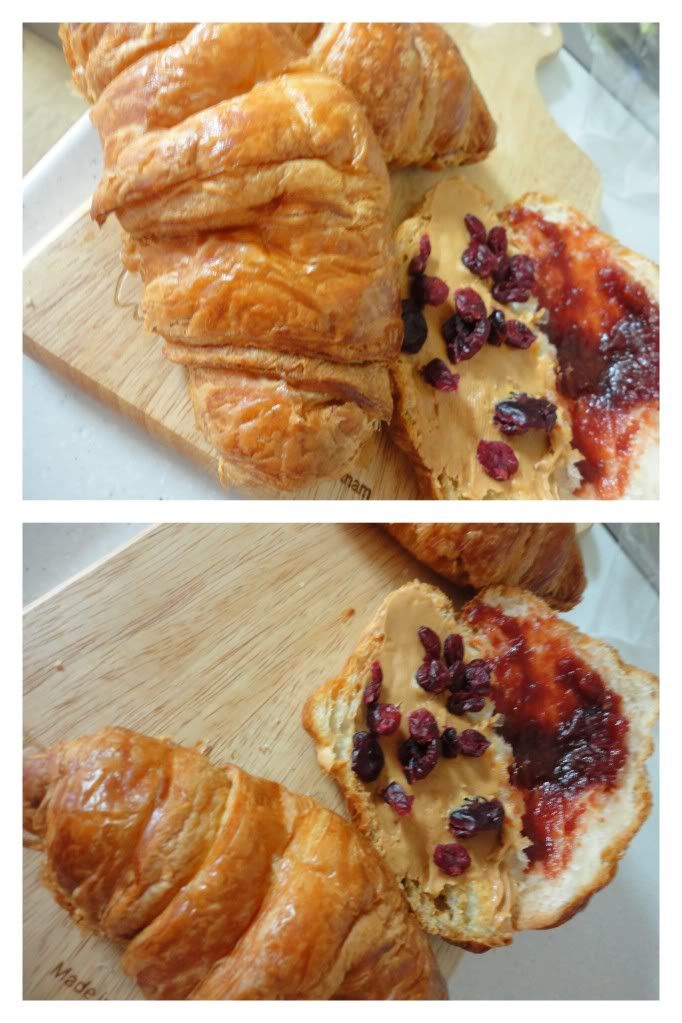
It's just a short post to remind myself in the future that the best way to make a PB&J for a day at an amusement park where there's all kinds of fried foods screaming your name is to use an out of the ordinary bread (croissant), a home-made jam/jelly from home (crab-apple butter) and throw in something unexpected (craisins). Just makes it a little more exciting to pull out of the lunch bag - don't you think?

Biscuits and Gravy -- Hallelujah!

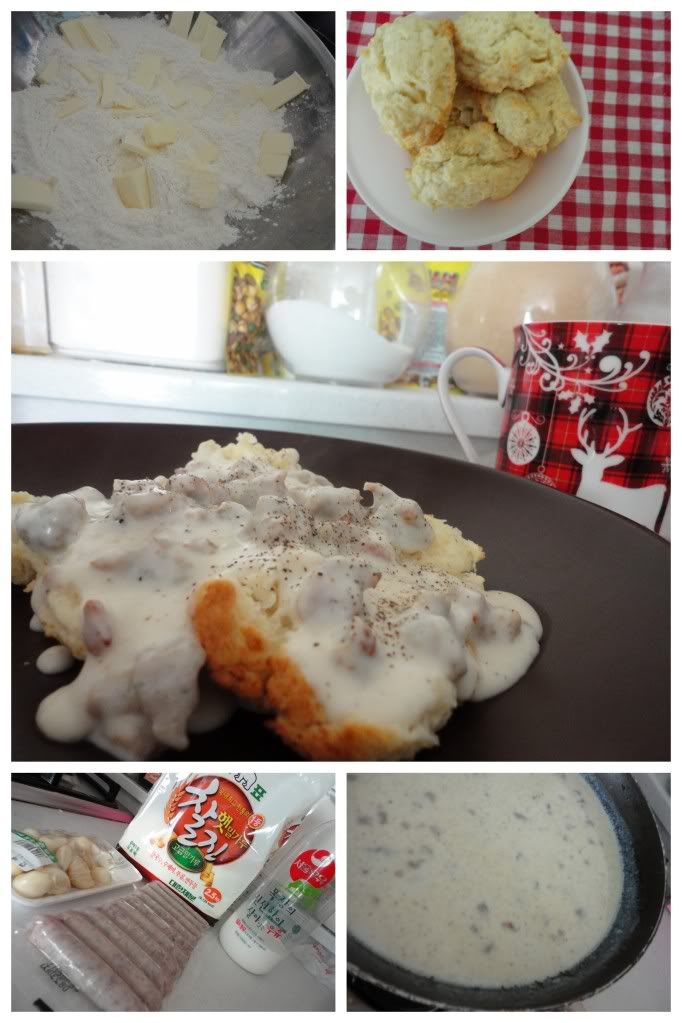
It finally happened. And it happened multiple times. And it's happening as leftovers. Praise the Lord! I love Biscuits and Gravy!

Photobucket


Ingredients/Directions:

Heat 1-2 Tbsp. of oil in a large skillet. Brown about 12 links (out of their casings) of sausage or the equivalent (I recently just used ground pork which required a bit more oil but filled the craving regardless). Once cooked through, throw 1-2 minced garlic cloves into the pan and saute until fragrant. Add 2-3 Tbsp. of Flour to soak up the oil/grease. Time to gradually add in some milk, probably 1.5 - 2 cups. Heat on the stove top 10-15 minutes until thickened. (I get impatient and occassionally add another Tbsp. of flour...you can too if you want, I won't tell).

Meanwhile, mix two cups of flour with 1 Tsp. Sugar, 1 Tbsp. Baking Powder and 1 tsp. Salt. Cut in 8 Tbsp. Butter with a fork or pastry blender. Make a well of the crumbly mixture and add 3/4 cups of Milk. Knead the dough, drop or roll out and cut with a biscuit cutter or top of a glass, place on a baking sheet and bake at 350 for about 10-15 minutes.

Smother those biscuits with gravy and you will be lovin' life!

Meringue Topped Thumbprint Cookies

Photobucket

This post is not sufficient. I know it from the get go...sorry.

Here's the deal. Every one who bakes should have some stand-by recipes/concepts.

Basic Bread

Basic Hash

Basic Cookie Dough

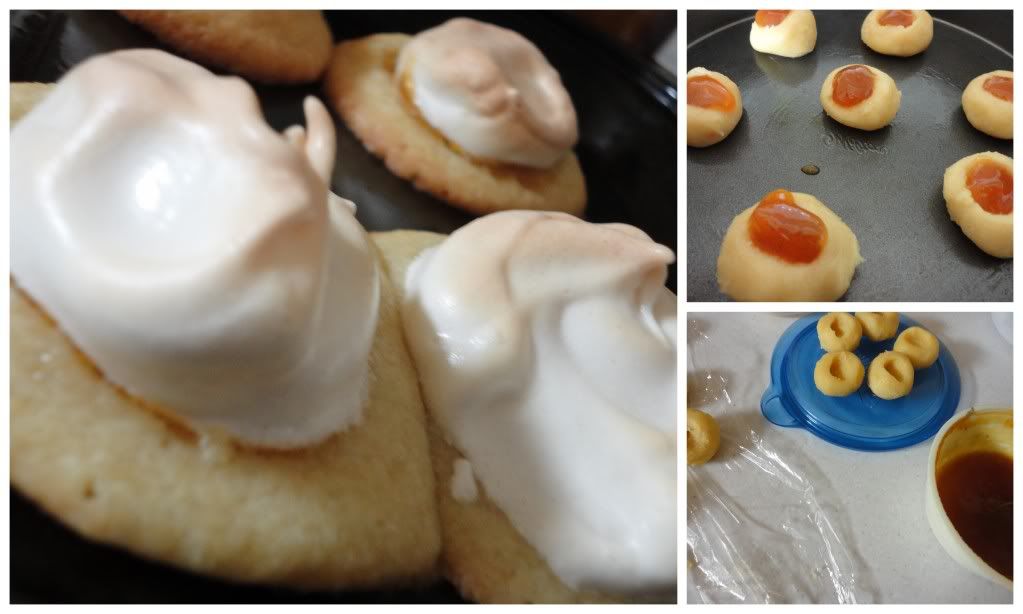
I used what I have on hand for my Basic Cookie Dough to whip up these...

These cookies, which were satisfying, but not extraordinary and that I was truly lacking in energy to do properly...but maybe you want to them properly and just need the inspiration. So, that's what I have for you here. An inspirational post.

Here it is...

Basic Cookie Dough + Thumbprint + Jam (I used my Persimmon Jam) + Meringue Topping

Can you imagine the possibilities with lemon curd in place of the jam? It'd be like Lemon Meringue Cookie Bites. Who wouldn't enjoy that?

Enchilada Suizas Soup and a Re-Make

Photobucket


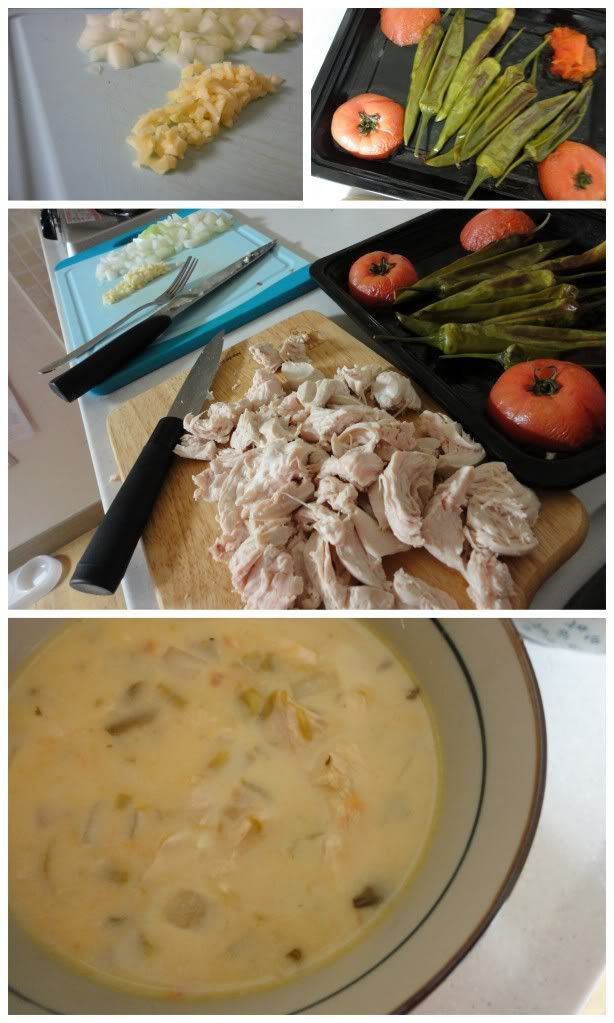
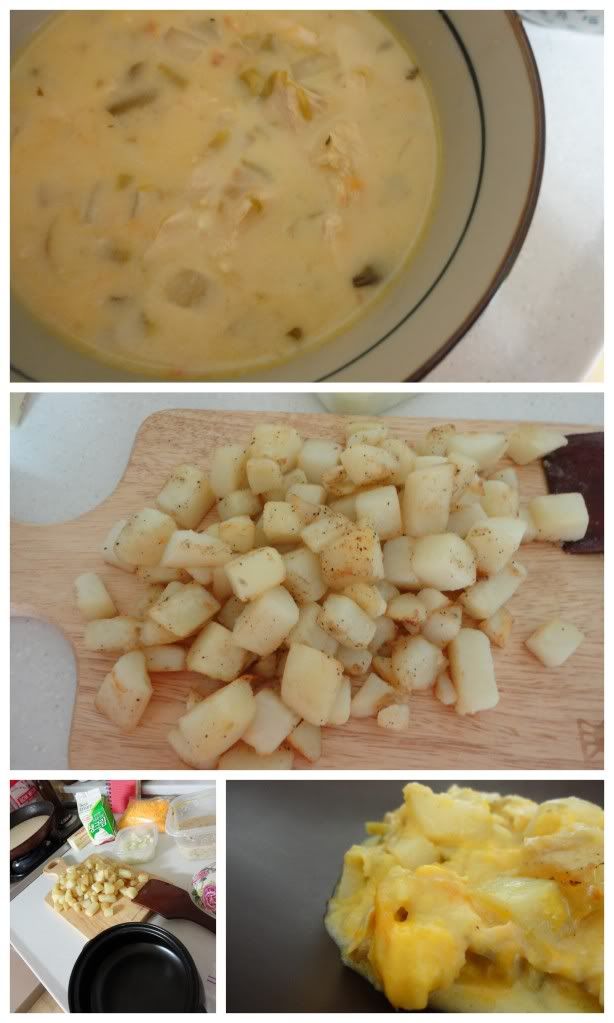
Occasionally, (or quite often) when it comes to cooking I want something homemade, delicious and quick. I recognize, that sometimes, a meal that takes some time and effort to put together is worth the effort and so often phenomenal in a way quick and easy can't be. Nonetheless, I'm a sucker for easy. And what is easier than taking what appears to be a delicious recipe and tweaking it so that it's a soup. Nothing! Nothing is easier than soup! So, I found a bomb-A recipe for Enchiladas Suizas, decided I was lacking energy and motivation to do the whole saucing, filling, rolling, baking work of enchiladas and opted instead to soupify (in a non-liquefying way) this recipe for enchiladas suizas.

Ingredients/Directions:

Roast some chilies to ensure a bowl full of spicy flavor-ful-ness. Melt a bit of butter and saute a diced onion in a sauce pan. Season buttery onions with minced garlic, cumin and salt, add a bit of flour to thicken and create a roux-like concept. Add 2-3 cups Chicken Broth and simmer for a bit. Add unto the mixture, 2 cups of cooked/shredded chicken and chopped, roasted green chilies. Simmer a bit longer until things smell phenomenal. You are encouraged to add any additional soup ingredients you desire such as: potatoes, tomatoes, etc. Just before serving, add about one cup of heavy cream, some shredded cheese and stir until incorporated. Ladle into a bowl, top with crushed tortilla chips, cheese and sour cream if you are so luck to have it readily available and enjoy my friends, enjoy! (Please note, these are potentially the least accurate measurments and directions I've ever posted, so take caution and don't fear changing things up a bit).

As for the remake...

Reheat left over soup liquid on the stove - just strain it off a bit. Dip tortillas in a thickened liquid (thickend with flour, heating, etc.) Brown up some potatoes, shredd some cheese, use the none liquid part of the soup and begin filling enchiladas or creating an enchilada casserole by layering. Simple. Easy. Delicious!
Photobucket

Tuesday, June 28, 2011

Nutella Mug Cake

Photobucket

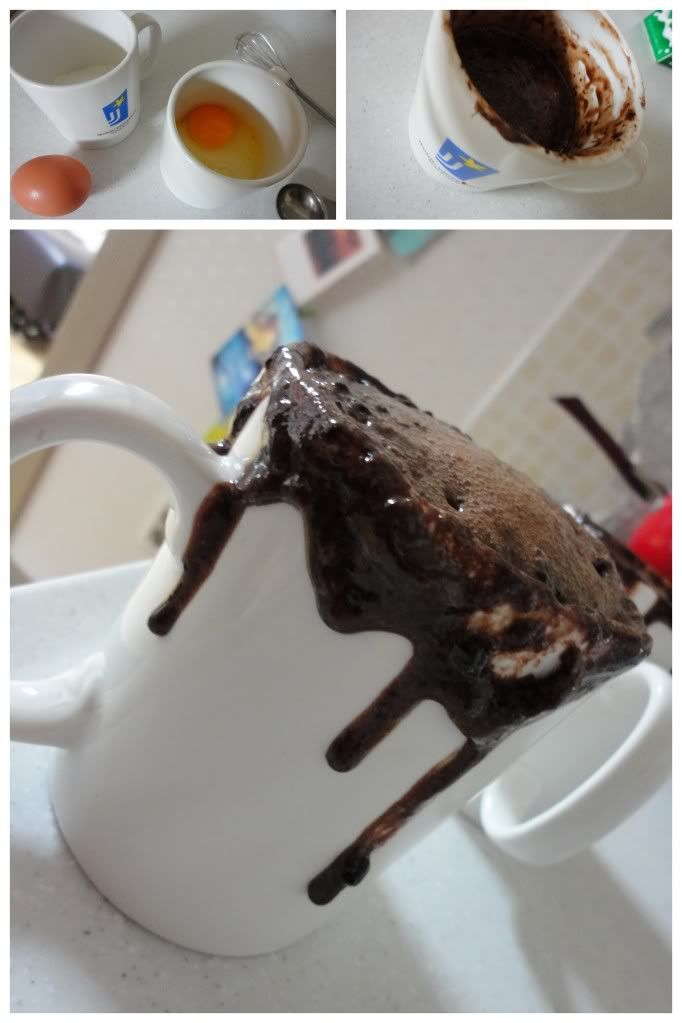
Want dessert in 5 minutes or less? Well, here it is! Wait no longer! This gem is not really my brilliant creation, the original recipe is here...but just in case you happend by 519 Kitchen first, I'm happy to share the recipe with you ^.^

Ingredients/Directions:

In a large coffee mug whisk together: 4 Tbsp. Self Rising Flour (or AP Flour with a sprinkle of Baking Powder and Salt...to make your own Self Rising Flouth use the ratio: 1 cup Flour + 1.5 tsp. Baking Powder + 1/2 tsp. salt), 4 Tbsp. Sugar, 1 Egg, 3 Tbsp. Cocoa, 3 Tbsp. Nutella, 3 Tbsp. Milk and 3 Tbsp. Olive Oil. Throw it into the microwave for anywhere between 30 seconds and a minute and a half...keep an eye on it! Mine GREW and almost left the coffee mug. ENJOY!!! It's a rather large helping of cake, but it's delicious, so just eat it (or pawn it off on the hubs).

Monday, June 27, 2011

Throw it in a Dish -- Call it Dinner

Occassionally (a.k.a. more-often-than-not), there are foods in the fridge that have been there too long, are in too small of quantities to do something new with, and that have lost their original intrigue (such as leftovers).

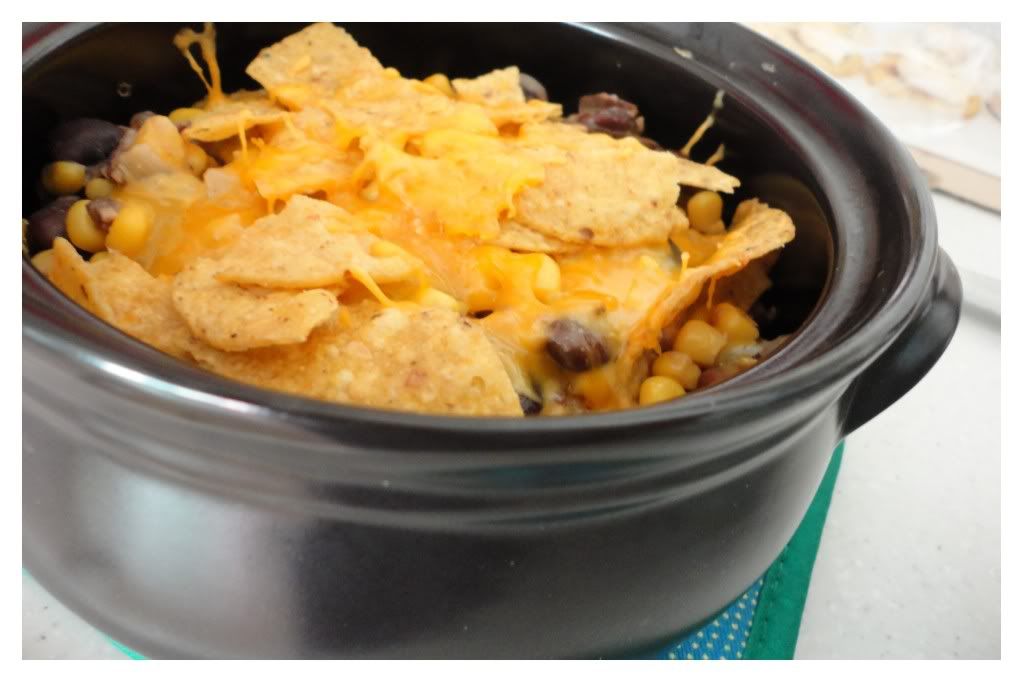
This "throw-it-in-a-dish" meal is one such example.

Leftover filling from Stuffed Peppers.

Diced Peppers that weren't stuffed.

Last of the Corn Tortiallas (two)

Bottom of a bag of Corn Chips (two small for dipping)

Cheese. Glorious Cheese.

Photobucket


Casserole Dish, followed by tortilla, followed by half the pepper filling and cheese,  followed by tortilla, more pepper filling and cheese, topped with tortilla chip crumbs and of course cheese.

Baked for about 20-30 minutes. Topped with Blender/Food Processor Salsa and Friends, you have a meal!

Saturday, June 25, 2011

Black Bean 'Hummus'

Photobucket
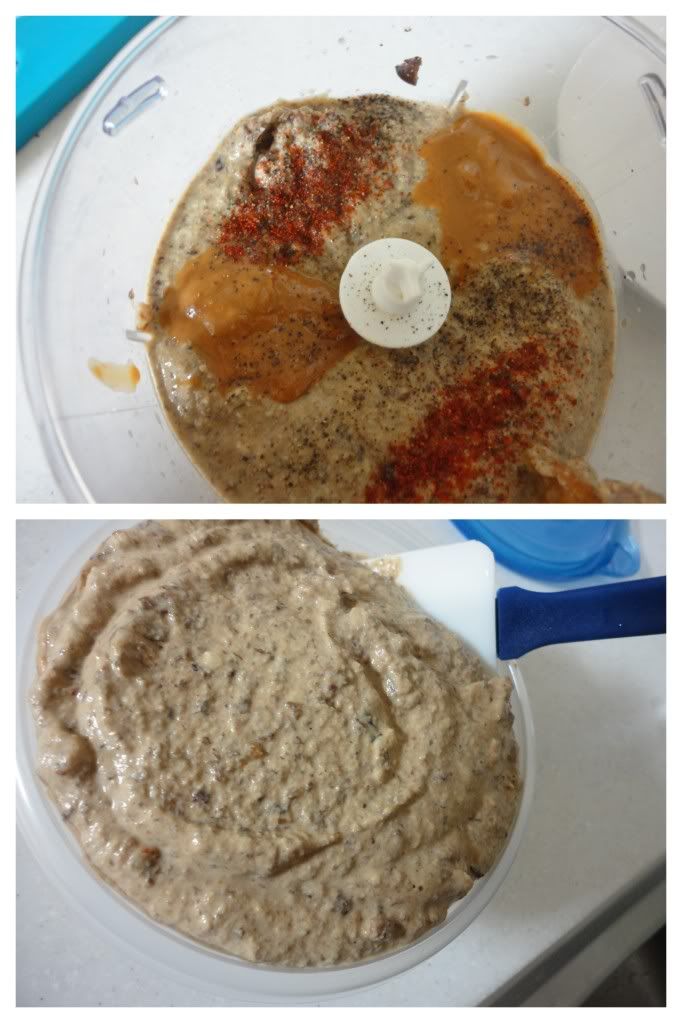
So....you have some black beans you thought you'd use in one dish or another but you didn't? Have a guest coming and want to serve them something delicious, homemade and vegetarian?

No worries.

1-2 cups of Black Beans, food processor, garlic, cayenne and cumin or other spices, a bit of salt, olive oil and Tahini if you so desire. Process it up and before you know it, you've got a black bean dip fit for chowing down on!

We used ours in a tortilla with fresh veggies for a simple dinner wrap. Can't go wrong!

Friday, June 24, 2011

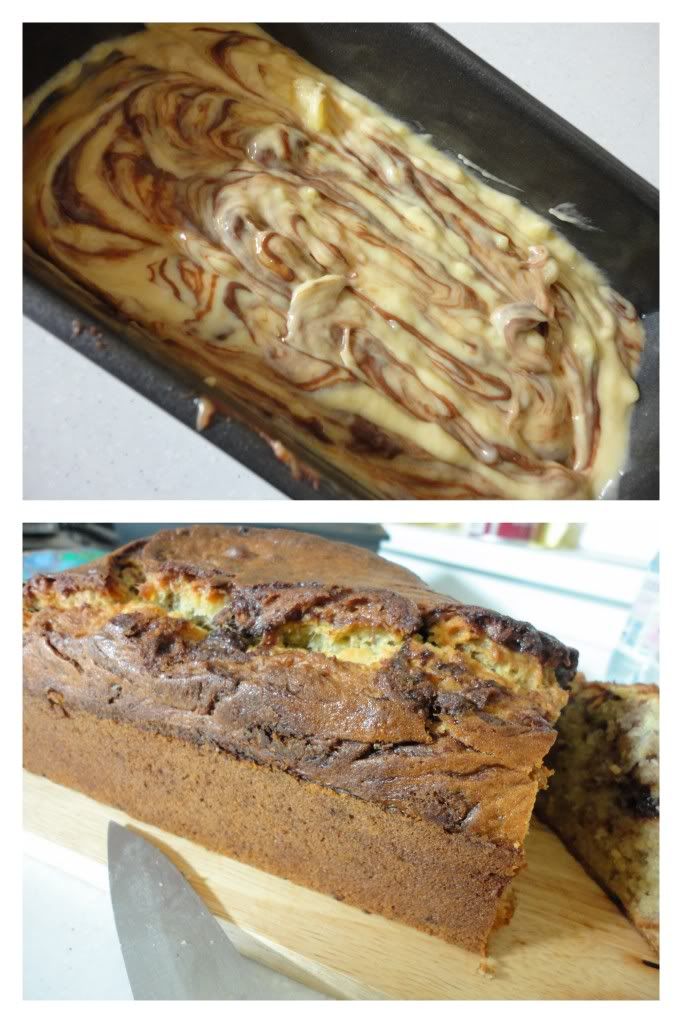
Nutella Banana Bread

Favorite Banana Bread Recipe.

Nutella.

Half the batter.

Few spoonfuls of Nutella. Swirl.

Repeat.

Bake.

Devour.

Photobucket

Monday, June 20, 2011

Vanilla Pudding

Photobucket
Ingredient/Directions:
adapted from Lynn's Kitchen Adventures

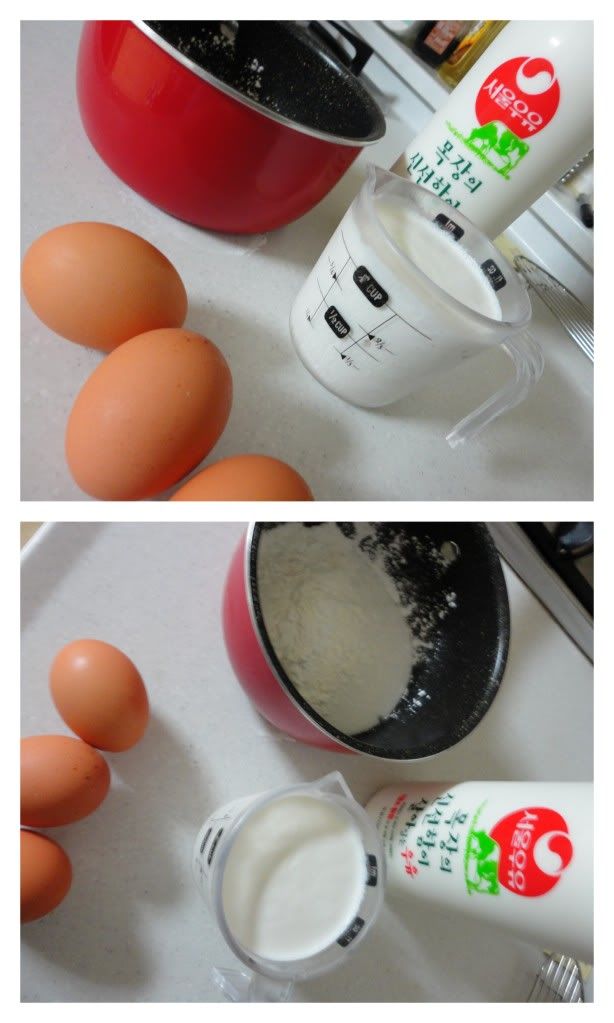
Combine 3/4 cups sugar,  1/3 tsp. salt, and 4 Tbsp. cornstarch in a saucepan. Whisk in 1 cup cream, 2 1/2 cups milk, and 3 egg yolks, cook over medium high heat, stirring constantly for 3-5 minutes or until thickened. Remove from heat. Stir in 1 Tbsp. vanilla and 1 Tbsp. butter. Whisk until butter is melted. (Strain through a fine mesh sieve to remove any lumps. Or don't, it's your personal call - I didn't and Mike still devoured it ^.^).

Cover with plastic wrap for storage. To prevent a skin or film from forming be sure to place plastic wrap up against the pudding, not just over the top of the bowl. Serve warm or cold. And, beware, this is addicting and will soon be gone if you're not careful...just so you know.

Thursday, June 16, 2011

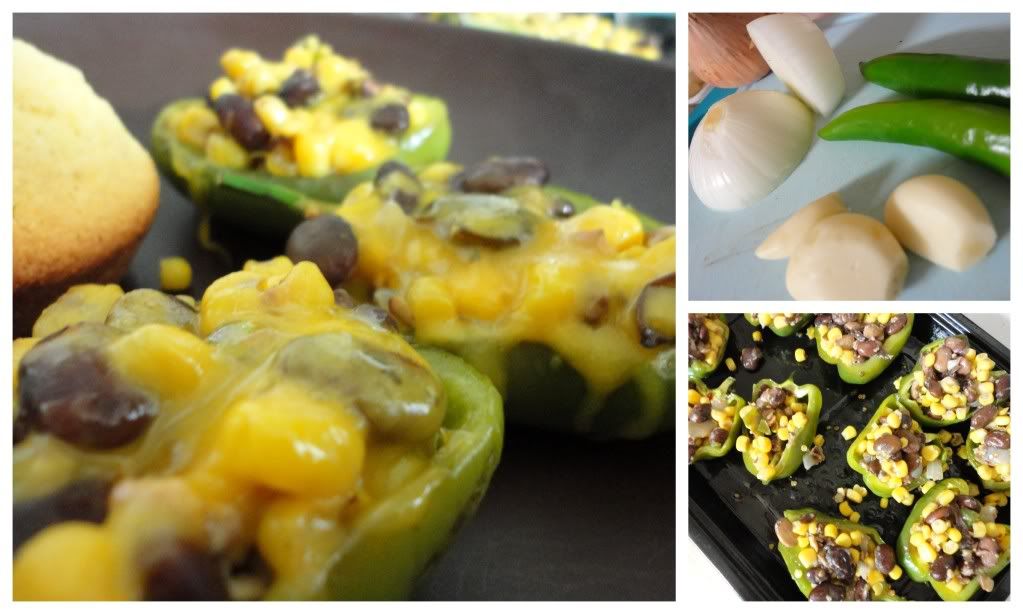
Black-Bean Stuffed Peppers

Photobucket

Stuffed Cheesey Veggies...can you go wrong? I'd like to propose that you can't, you can't go wrong with cheesey stuffed veggies!

Once again, I've enjoyed some 'Pinspiration' for this recipe and landed myself on this blogger's Spicy Black Bean Stuffed Peppers.

I followed the general guidelines, paired the peppers up with some cornbread muffins and enjoyed a fabulous bit of dinner with my fabulous bit of husband!

Ingredients/Directions:

In a small sauce pan saute some onions and garlic for a couple minutes before adding a can or two (or cup or two) of black beans. Simmer (adding some water/liquid as necessary) for 10-15 minutes, stirring occasionally. Meanwhile, slice in half some bell or other peppers - as many as you desire to eat. Place on cookie sheet, brush with oil and roast for 15-20 minutes. (Maybe this should be done first, sorry). Add a small can of corn to the beans and heat 3-5 minutes. Fill roasted and tender pepper halves with bean mixture, top with cheese, throw in the oven for a few minutes until cheese is melty and the peppers look absolutely delcious! ENJOY!

Wednesday, June 15, 2011

Hoppin' Johns Bi-bim-bap

Photobucket

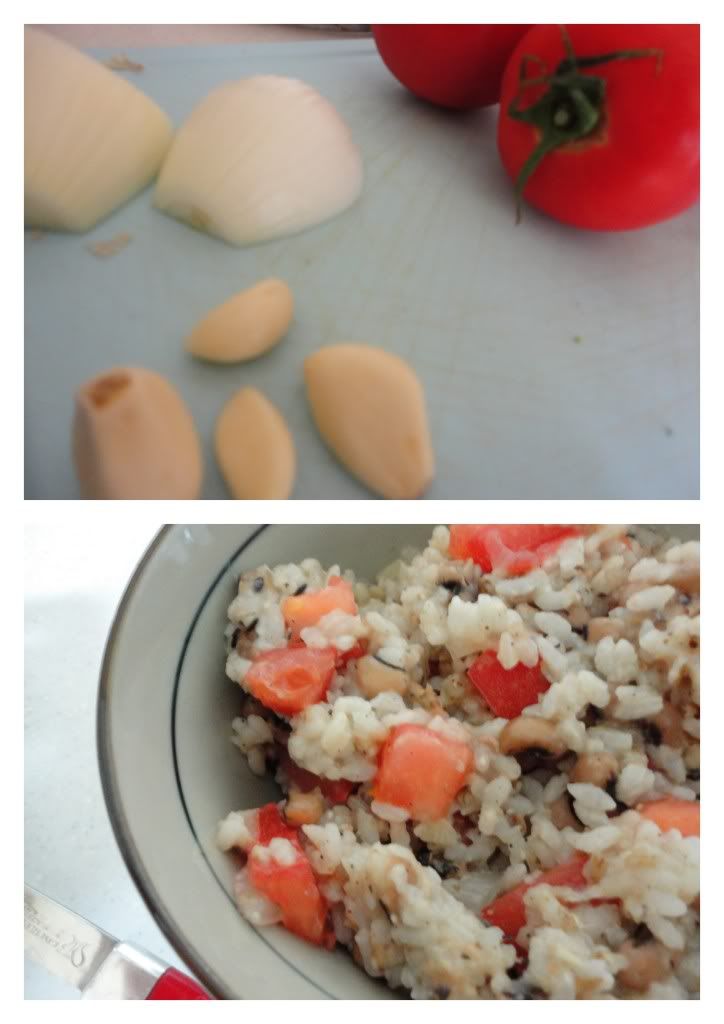
I'm not a southerner...so I'm not an expert on Hoppin Johns. I believe it is eaten for New Years and should include Collard Greens, so actually, my Bi-bim-bap is missing some green...but that's just because I was to lazy to make my way to the market ^.^ Another crucial aspect of Hoppin Johns is Black-Eyed Peas, I had that.

Now, about Bi-bim-bap...it's a Korean dish and it's LOVELY! Basic idea: Rice, Thinly Sliced Veggies, Red Pepper Paste and a Fried Egg. If you know me and my household very well, you know that if you can top it with a fried egg, we're all in!

Now, combining these two ideas is quite simple...You will need:

Prepared Rice.
Diced Tomatoes.
Prepared/Canned Black-Eyed Peas.
Sauted Onions and Garlic.
Fresh or Wilted Spinach, Collard Greens, etc.
Salt and Pepper for flavor.
One Fried Egg.

Mix all except the fried egg together, and throw an egg on top - or, you can serve it more like traditional bi-bim-bap with rice on the bottom, tomatoes, greens, onions and black eyed peas on in the middle and a fried egg on top - mix it together with a spoon and ENJOY!

Friday, June 10, 2011

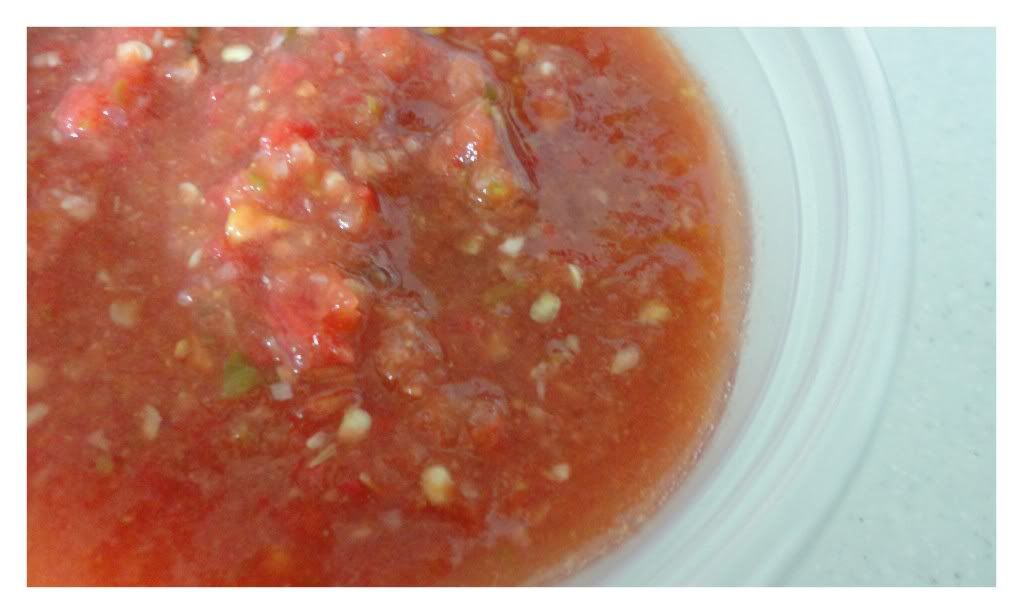
Just another take on ... Blender Salsa

Photobucket
Salsa is really, REALLY easy to make...and there are plenty of recipes available on the web. I have nothing special to offer...except a word of encouragement that you should all be making your own salsa...because it's EASY!

When I was 'extending shelf life' - I threw some rescued tomatoes and cilantro into the blender to make this salsa.

Recently, I threw some roasted chilies (with some serious KICK), onions, garlic, tomatoes and cumin into a food processor and what do you know? I had a Kickin' Salsa!

Other 'Korea' Salsa's have featured less spicy chiles, roasted tomatoes and on occassion, cilantro.

Salsa...it's easy. No need for Pace ^_^

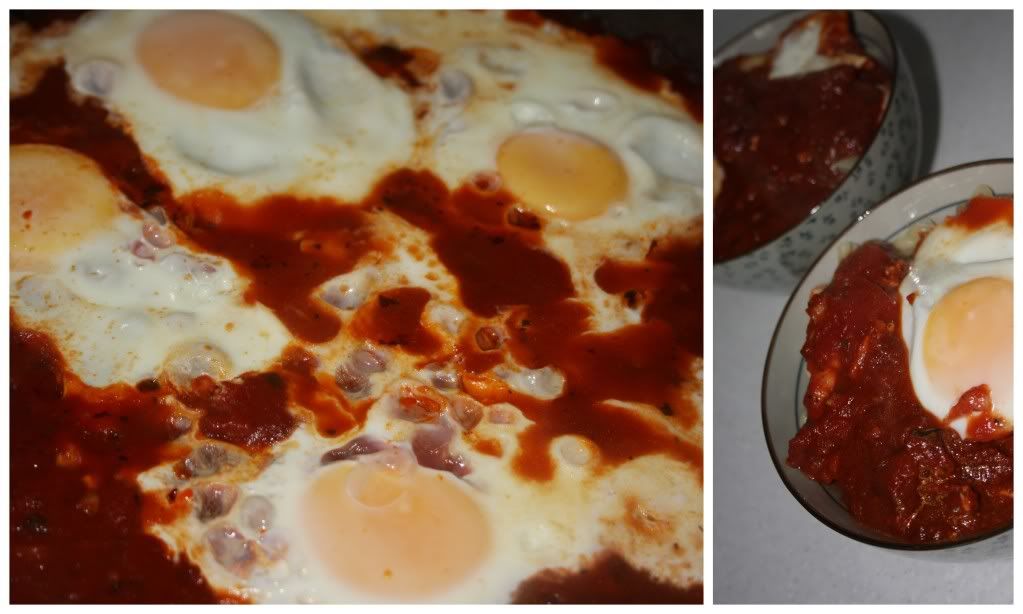
Eggs in 'Purgatory'

Photobucket

Definitely not of my own imagination...but, definitely right up my alley in regards to flavors and ease! You can find recipes that are totally from scratch - you know, saute garlic, onion, etc in oil, add some spices and a can or two of diced tomatoes - it's probably FABULOUS! Fortunately, if you're in a cram, it's also fabulous with prepared Marinara. Just prepare yourself some noodles or pick up a fine loaf of bread, heat some marinara in a skillet, crack a few eggs into the skillet on top of marinara, cover and cook 3-5 minutes until eggs are cooked to preference perfection! Serve over rice, pasta or bread. So easy. So delicious.

Friday, June 3, 2011

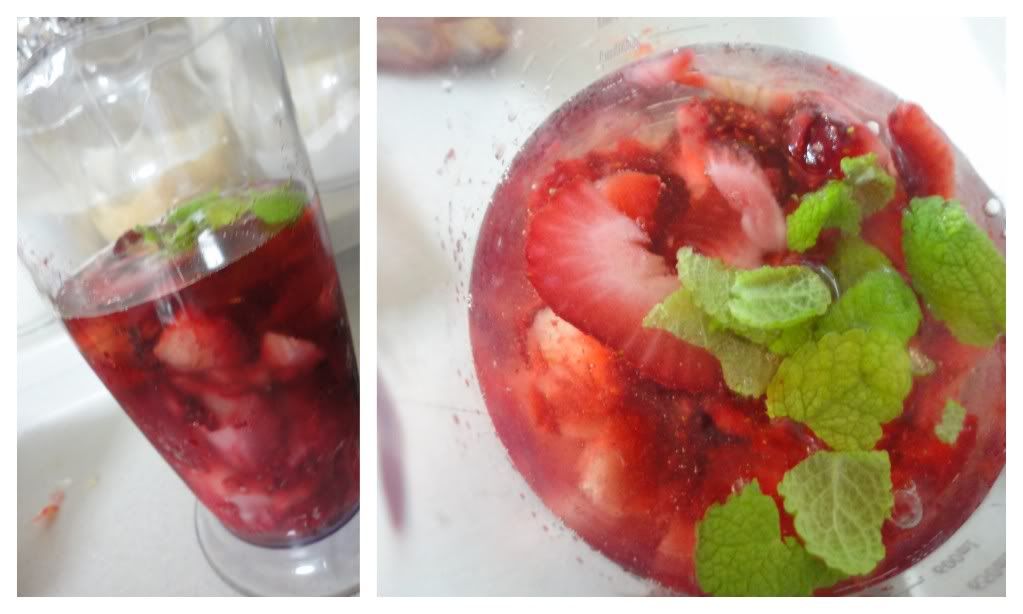
Strawberry 'Mojito' and Open Faced Sandwiches

Photobucket


Photobucket

I enjoy throwing things into a blender and pretending it's something as fancy as a Strawberry Mojito...but usually, it's not. It's just frozen strawberries, a  bit of fresh apple-mint (?--does that exist outside of Korea?) and of course...Soju.

I also enjoy using home bread to make simple, delicious sandwiches...Bread. Cheese. Onions soaked in Balsamic Vinegar. Tomato. Fried Egg on Top.

Can't go wrong.

Wednesday, June 1, 2011

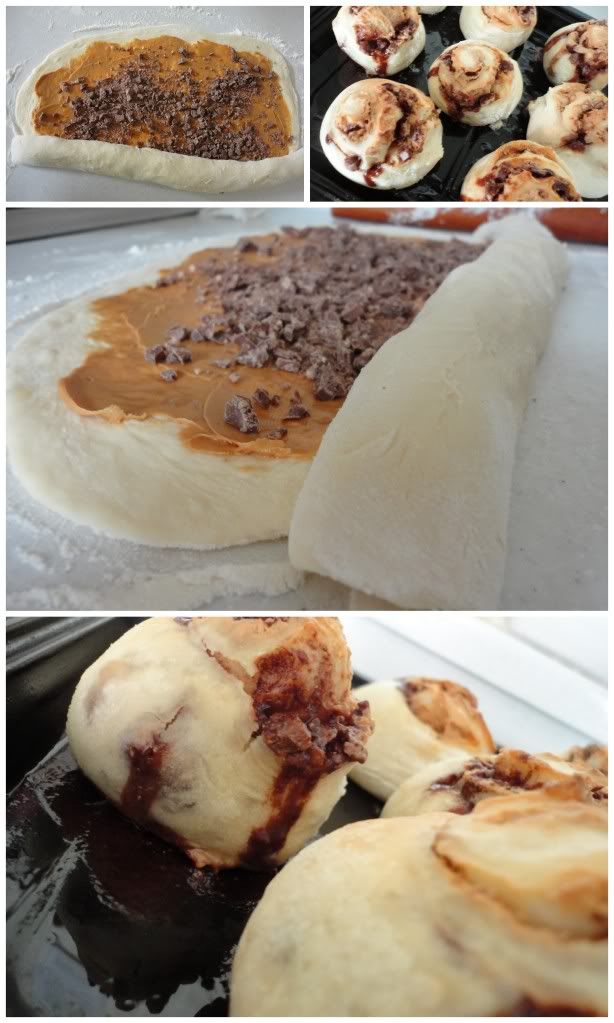
Choco-P.B. Rolls

Photobucket

Just after punching the dough from Jamie Oliver's Basic Bread Recipe - roll out the dough and stuff with whatever you darn well please! Who said cinnamon and sugar are the only things that liked to be wrapped up in deliciously warm and airy bread?

These were divine. I spread on some P.B. sprinkled on some diced chocolate - rolled, sliced, waited for the 2nd rise, baked for about 20 minutes and devoured along side a glass of iced chai.

Who wouldn't want some of that in their day?

Jamie Oliver's Basic Bread Recipe

I've loved Jamie Oliver ever since watching Food Revolution. I'd love to see some major changes in the American school lunch system. Would Love.

Since arriving in South Korea I've really been longing for cookbooks - for inspiration and a resource other than the internet. So, while in Seoul for my birthday, we made our way to a book store and I picked up one of Jamie Oliver's Cookbooks (the specific name escapes me now). I haven't actually done much with it, but, I have conquered his basic bread recipe and played around with it a bit. It's phenomenal.

I used to fear working with yeast. I'm still not so sure about it all the time, but with Jamie's guidance and constant reminders to myself to be patient, I have had some rockin' success with breads!

Here is Jamie Oliver's Basic Bread Recipe:
 from http://www.jamieoliver.com/


Ingreidents/Directions:

Pile 2 lbs. or 6-8 cups flour on to a clean surface or in a bowl and make a large well in the centre. To one cup of tepid water add 1 oz (1 2/3 Tbsp ...?) Yeast2 Tbsp. Sugar and 1 Tbsp. Salt, mix well and pour into flour well.

Slowly, but confidently, bring in the flour from the inside of the well. (You don't want to break the walls of the well, or the water will go everywhere.) Continue to bring the flour in to the centre until you get a stodgy, porridgey consistency – then add another cup of tepid water remaining water. Continue to mix until it's stodgy again, then you can be more aggressive, bringing in all the flour, making the mix less sticky. Flour your hands and pat and push the dough together with all the remaining flour. (Certain flours need a little more or less water, so feel free to adjust.)

This is where you get stuck in. With a bit of elbow grease, simply push, fold, slap and roll the dough around, over and over, for 4 or 5 minutes until you have a silky and elastic dough.

Flour the top of your dough. Put it in a bowl, cover with clingfilm, and allow it to prove for about half an hour until doubled in size – ideally in a warm, moist, draught-free place. This will improve the flavour and texture of your dough and it's always exciting to know that the old yeast has kicked into action. (SOOOO important to be patient at this point. Make a mental note of wher the ball of dough starts out so you really know when it's doubled in size)

Once the dough has doubled in size, knock the air out for 30 seconds by bashing it and squashing it. You can now shape it or flavour it as required – folded, filled, tray-baked, whatever – and leave it to prove for a second time for 30 minutes to an hour until it has doubled in size once more. This is the most important part, as the second prove will give it the air that finally ends up being cooked into your bread, giving you the really light, soft texture that we all love in fresh bread. So remember – don't fiddle with it, just let it do its thing.

Very gently place your bread dough on to a flour-dusted baking tray and into a preheated oven. Don't slam the door or you'll lose the air that you need. Bake according to the time and temperature given with your chosen recipe. You can tell if it's cooked by tapping its bottom – if it sounds hollow it's done, if it doesn't then pop it back in for a little longer. Once cooked, place on a rack and allow it to cool for at least 30 minutes – fandabidozi. Feel free to freeze any leftover bread.
Related Posts Plugin for WordPress, Blogger...