Showing posts with label Dessert. Show all posts

Thursday, January 24, 2013

White Chocolate Orange No-Bake Cookies

Extended Shelf Life for: Oranges
Photobucket
With the raging success of my Cookies and Cream No-Bake Cookies, and my undying love with kitchen experiments AND the open field for experimenting with No-Bake cookies (seriously, why aren't there more variations?) I'm on the go with new and exciting ways to enjoy a no-bake cookie which, excitedly are gluten free, making them a great go-to for potlucks and other events where all my dear GF friends may be present.

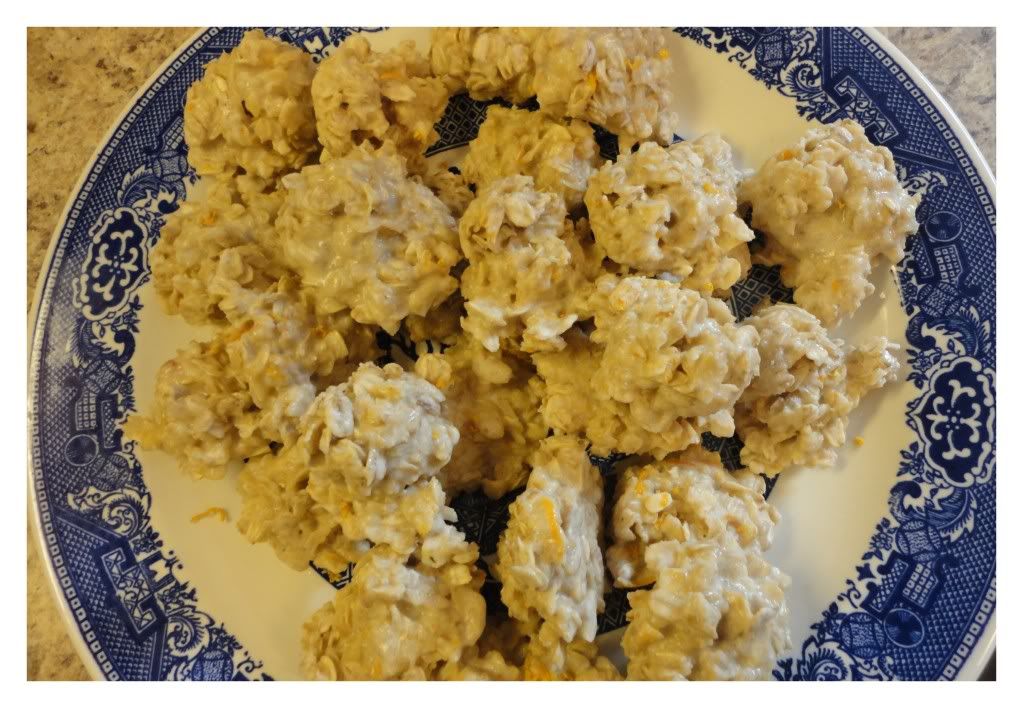
These White Chocolate Orange No-Bake Cookies are, without a doubt, delectable and delicious and a variation on no-bakes that will please many a palate, especially if you happen to have a non-chocolate loving friend, such as I do.

If you have happened by these cookies after already enjoying the Cookies and Cream No-Bake, I hope you'll find this variation just as enjoyable!
Photobucket
Ingredients/Directions:

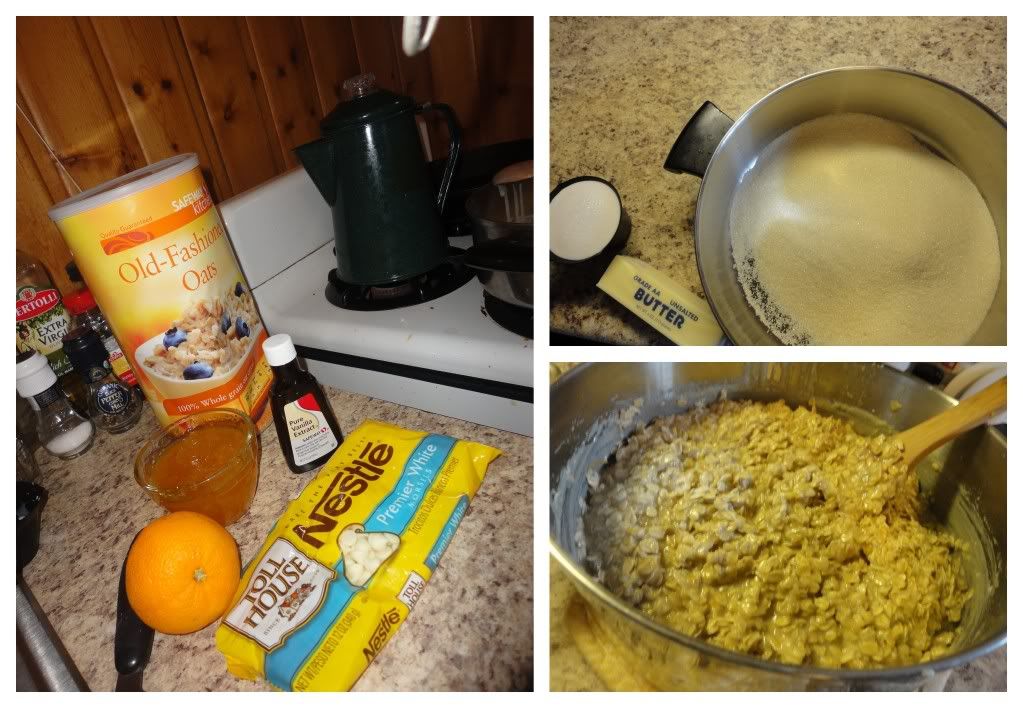
In a medium saucepan melt 1/2 cup Butter, 1/2 cup Milk and 1 3/4 cups Sugar together. Once mixture has come together remove from heat and stir in 1 bag of White Chocolate Chips until melted. Stir in 3 Tbsp. Orange Marmalade, 1 Tbsp. Fresh Orange Zest and 1 tsp. Vanilla. Add about 3 cups of Rolled Oats, add additional oats until mixture is thick and each oat is covered. Drop by the teaspoon or tablespoon full onto wax paper covered cookie sheets, refrigerate overnight or for 1-2 hours. Enjoy!

Friday, January 11, 2013

Blackberry Cobbler

Extended Shelf life for: Blackberries
Photobucket
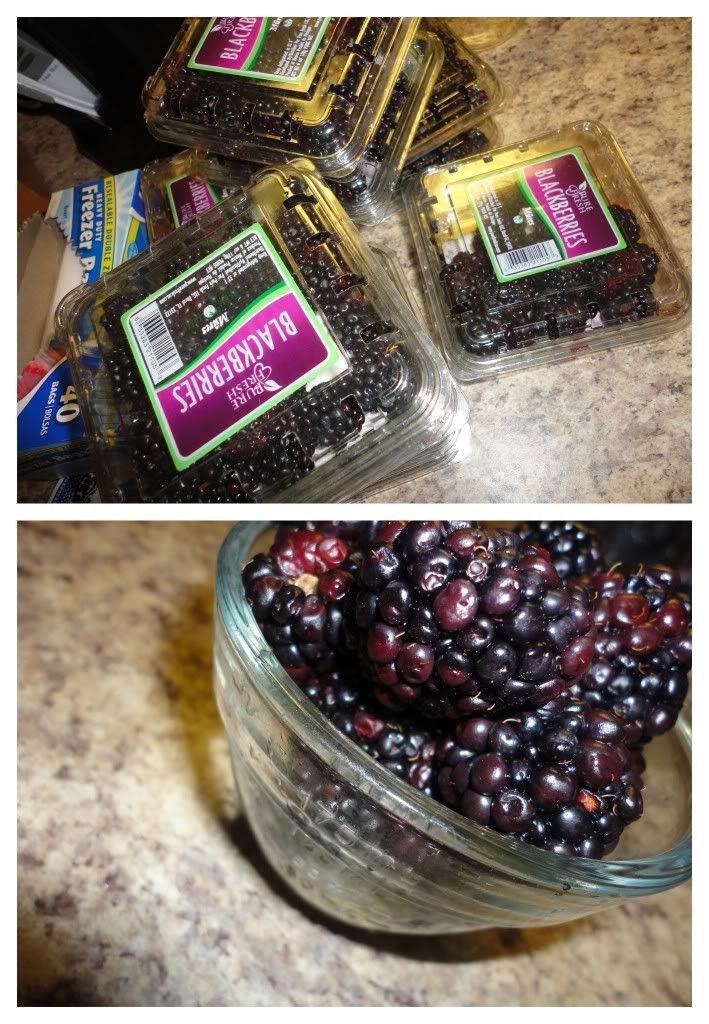
Normally, we dive a lot of potatoes and onions and a few other random produce items. Rarely we dive blackberries. Very rarely we dive an entire flat of blackberries. And even more rarely do we dive such an immense amount of berries and find that they are all incredibly edible! Would you believe that out of all these pints of blackberries I only threw two away? Unbelievable!

Of course, in these moments, my heart is truly torn: there's the heart that is thrilled to be cooking, chefing and crafting with blackberries and then there's the part of my heart that's devastated that I live in a society that can justify waste to this degree.
Photobucket
But of course, when life hands you blackberries you do a little victory dance and hit up the world-wide-web to find the best there is in Blackberry Cobbler's and it's not long before you find yourself on the doorstep of The Pioneer Woman.

The recipe I used is exactly the recipe posted by The Pioneer Woman (because who changes one of her recipes? Seriously?

But of course, I'll type it out in that special way I have ;)

Ingredients/Directions:

Melt 1 stick of butter. In a mixing bowl, stir together 1 cup Sugar and 1 cup Self-Rising Flour (make your own by adding 1 1/2 tsp. Baking Powder and 1/2 tsp. Salt). Slowly whisk in 1 cup milk. Add melted butter and whisk together.

Butter a baking dish.

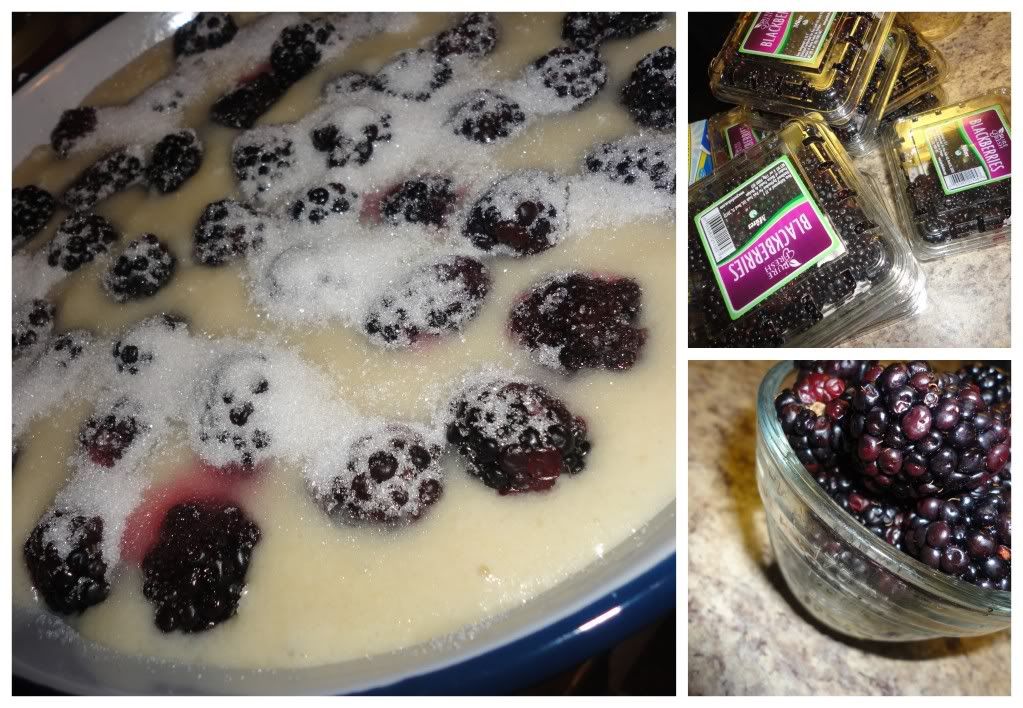
Wash and pat dry 1 pint (2 cups of Blackberries). Pour batter into buttered dish, drop berries on top, sprinkle up to 1/4 cup additional sugar on top. Bake for 1 hour at 350 until golden and bubbly. Enjoy as is or with Vanilla Ice Cream (could you believe we dived ice cream the same week as blackberries! what luck, eh?)

Tuesday, January 8, 2013

Butterscotch Molasses No Bake Cookies

Photobucket


Ingredients/Directions:

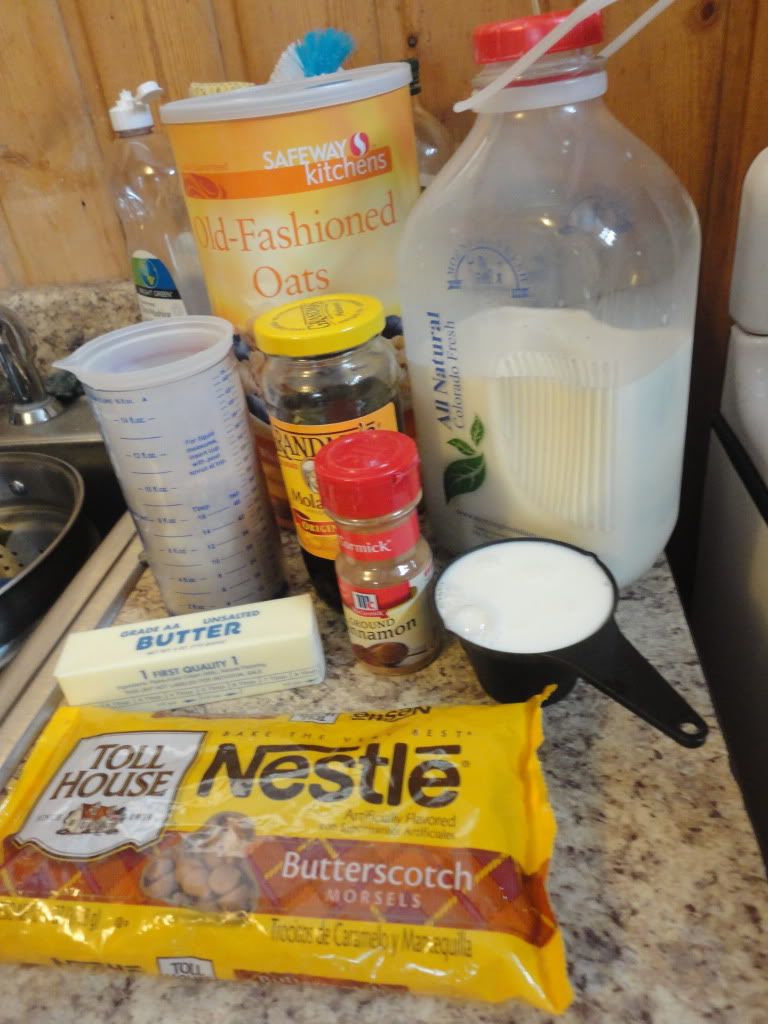
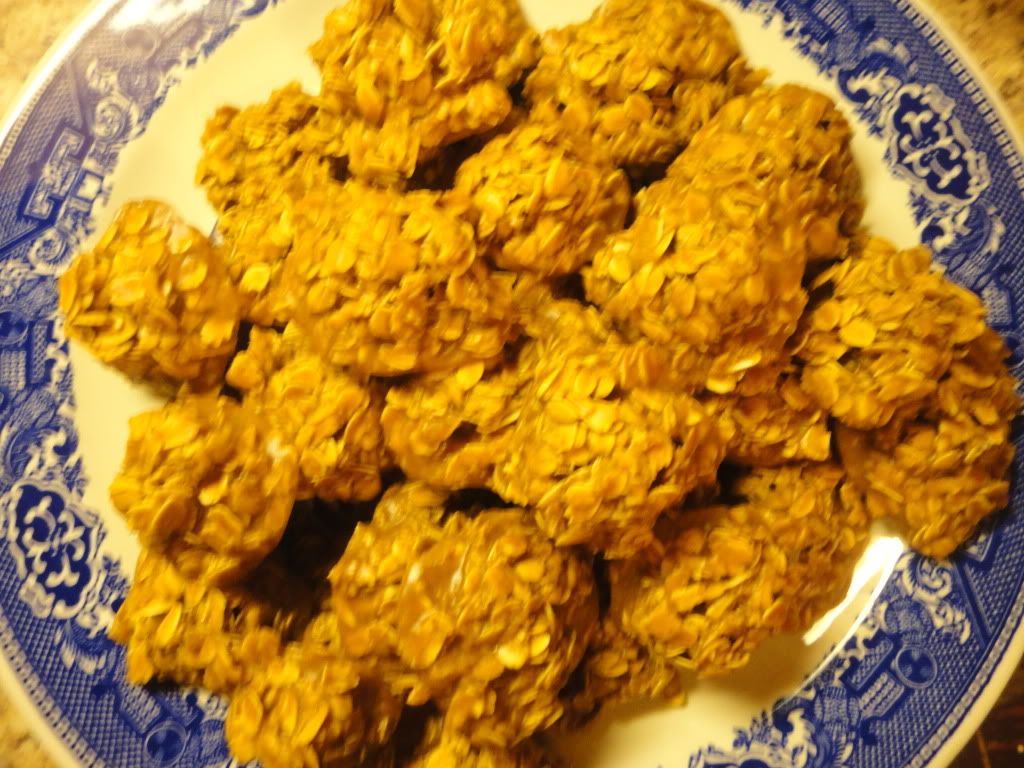
In a medium saucepan melt 1/2 cup Butter, 1/2 cup Milk, 1/2 cup Molasses, and 1 1/4 cups Sugar together. Once mixture has come together remove from heat and stir in 1 bag of Butterscotch Chips until melted. Stir in 1 tsp. Vanilla and a dash of Ginger. Add about 3 cups of Rolled Oats, add additional oats until mixture is thick and each oat is covered. Drop by the teaspoon or tablespoon full onto wax paper covered cookie sheets, refrigerate overnight or for 1-2 hours. Enjoy!

Photobucket

Thursday, December 27, 2012

Snicker Apple Tart

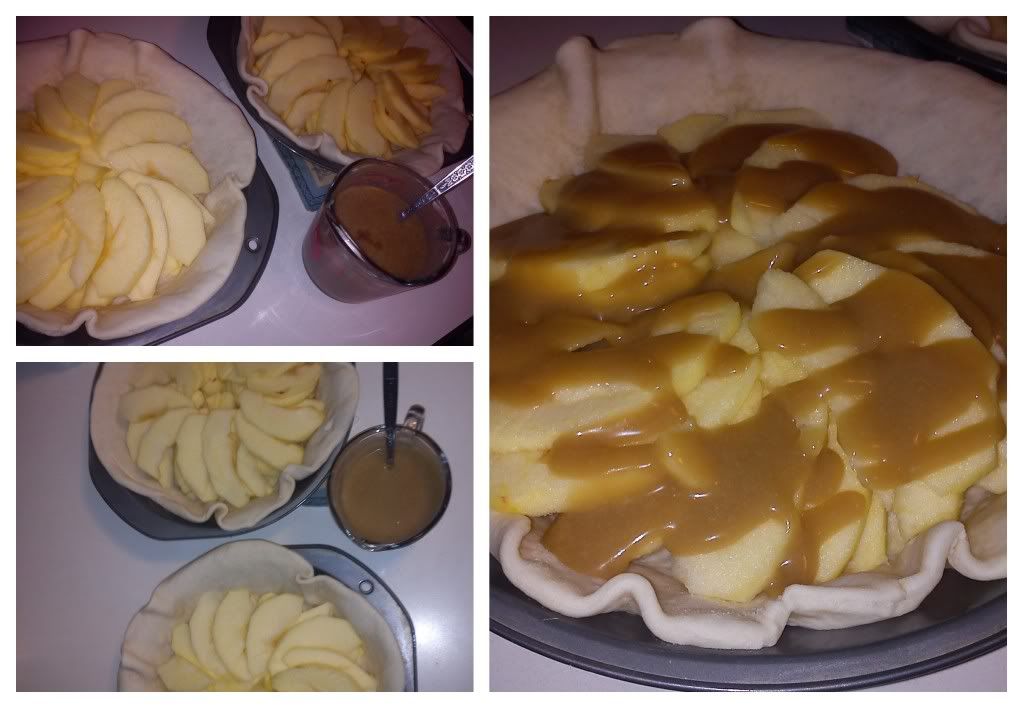
Having made delicious tortes for Thanksgiving (and subsequently Christmas Eve with the in-laws) I was eager to try out something new for 'belated Christmas' with my own folks. A bit of meandering on Pinterest soon turned up this recipe for Snicker Apple Tart and knew I had to give it a whirl.
Photobucket
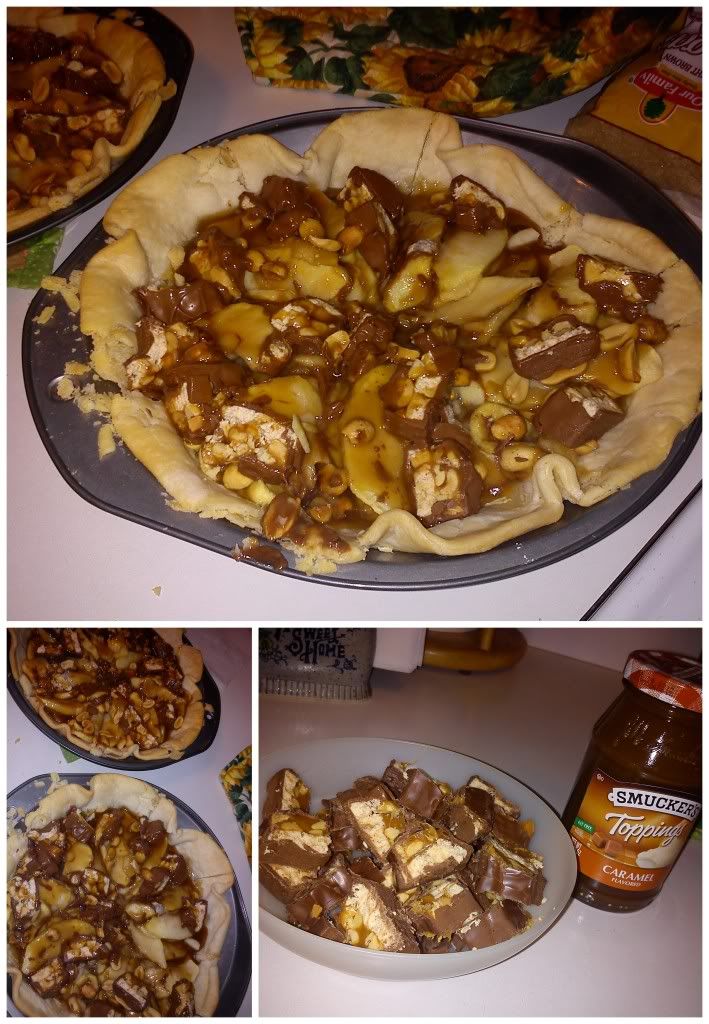
I made mine in multiple steps, wanting to ensure the oven was ready and available for the holiday ham which means I left the cooked apples sitting in slightly underdone pie shells for more than a few hours which caused the crusts to be a bit soggy even after re-heating...this could be simply the time issue or an oven issue or an issue of impatience, however, were I slightly more prepared for those factors this would have been phenomenal, considering such factors, this was still damn-good ;)
Photobucket
Ingredients/Directions:

Preheat oven to 350 F.

Using a pre-made pie crust, roll out into a shallow pie plate or torte pan, prick with a fork and bake for about 8 minutes.

Meanwhile, peel and core 2 large Apples to be arranged in the pre-cooked pie shells in whatever arrangement you so desire. Over the apples, drizzle 1/4 cup Heavy Whipped Cream mixed with 4 Tbsp. Brown Sugar. Sprinkle with 1/4 cup unsalted Peanuts. Bake for 25-30 minutes.

While baking, chop 2 Snickers Bars into bite sized pieces.

When 30 minutes have passed and pie is ready, remove from oven, sprinkle with Snicker pieces and drizzle with 1/3 cup Caramel Sauce. Let set a few minutes to get melty and mingled.

Enjoy.

Thursday, December 20, 2012

Molasses Butterscotch Cookies

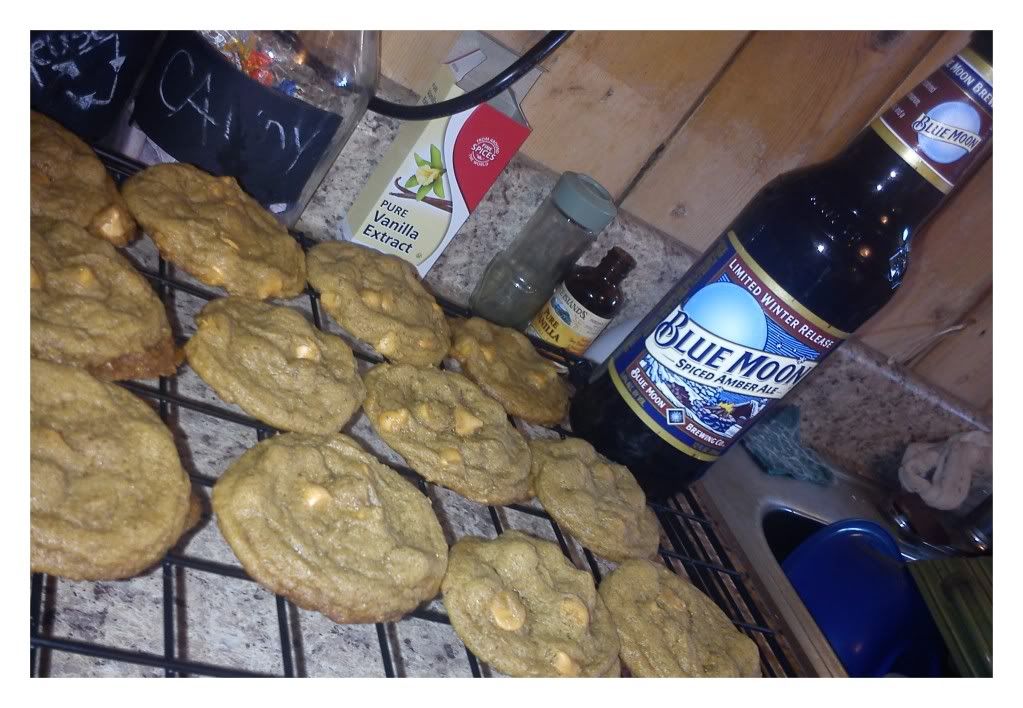
Without a doubt, these are my all time favorite holiday cookies and I am incredibly thankful to be back in a country where it is possible to buy butterscotch chips and molasses without much trouble. Not to mention, it's nice to have a wide-variety of beers and, in case you were wondering, these cookies + Blue Moon Spiced Amber Ale, are indeed a fantastic after-school snack!
Photobucket
Ingredients/Directions:

Preheat oven to 350 F.

Combine 3 cups Flour, 2 tsp. Baking Soda, 1 1/2 tsp. Cinnamon, 1 1/2 tsp. Ginger, 3/4 tsp. Cloves, and 1/2 tsp. Salt in a small bowl.

In a large mixing bowl, beat together 1 cup Butter, 1 1/2 cups Brown Sugar, 1 egg and 1/3 cup Molasses until creamy. Gradually stir in flour mixture. Fold in 1 pkg. Butterscotch Chips.

Drop batter onto cookie sheet, bake for 9-11 minutes until light, golden colored, should make 4-5 dozen delicious cookies.

Wednesday, December 19, 2012

Home-made Caramels: Note to Self

Photobucket
Note-to-self:

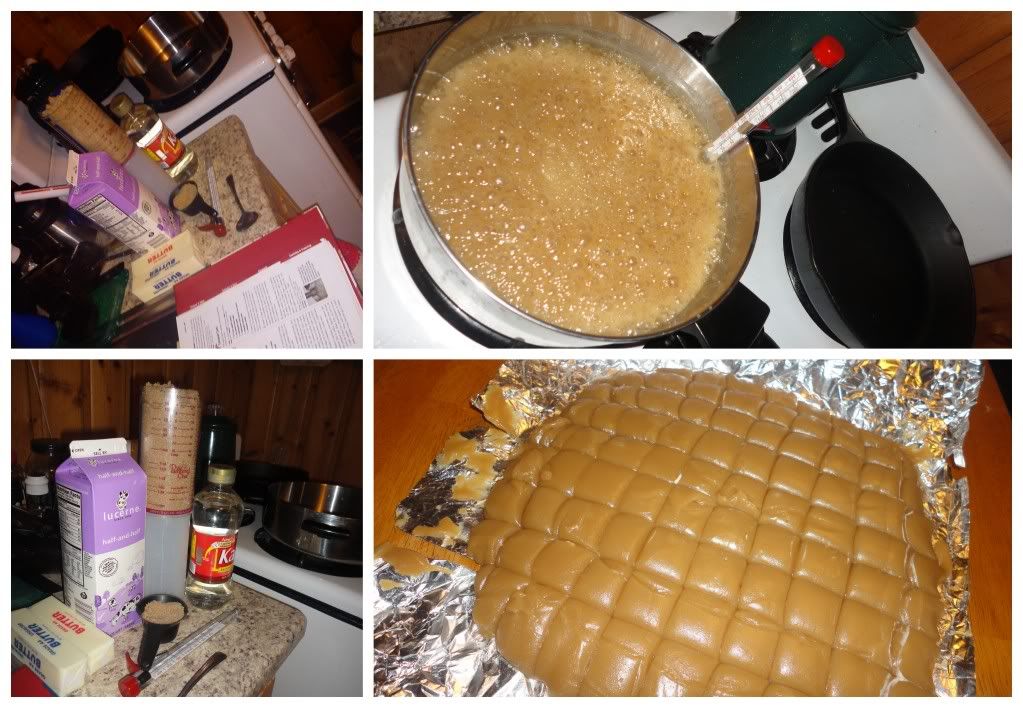
Making caramels at high-altitude isn't as easy as simply following the directions. While the caramels were delicious...they were too soft and a pain to wrap. Try again next time.

Saturday, December 15, 2012

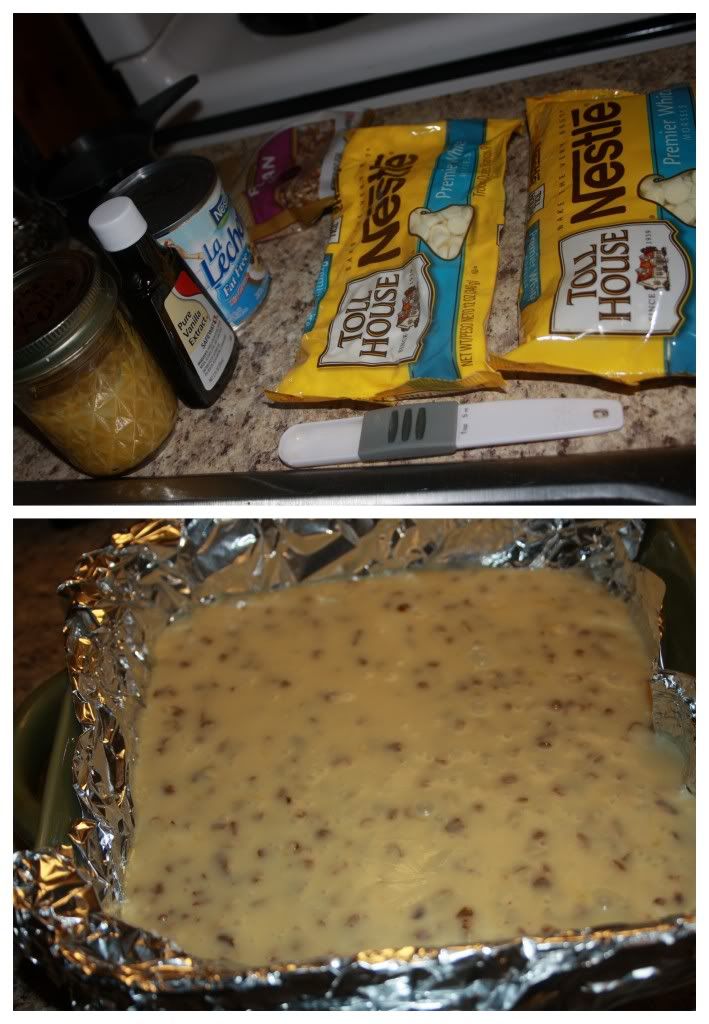
White Fudge with Lemon and Pecans

Extended Shelf Life for: Lemons
Photobucket
Being back in the land of Holiday snacking and gaining a few pounds in time for New Years Resolutions had me feeling a strong desire and deep urge to try my hand at some holiday candy-making. I've never done much in terms of fudge and I actually tried a few different recipes this Christmas, but high-altitude laughed in my face and my chocolate fudge was re-created into fudgy, no-bake cookies (which are always a win, so I laughed back, even harder, in the face of high altitude).

However, in the process of making candy at high altitude, I discovered this recipe for Easy White Fudge in one of my all-time favorite cookbooks: Better Homes and Gardens New Cookbook. Because we'd had an abundance of lemons at our door (aka, from the dumpster) in October, I'd learned a few tricks in regards to preserving lemons, and had a jar full of zest begging to be included with this fudge experiment, so I tweaked and altered, and what do you know? I came up with a fantastic, easy-to-make-regardless-of-altitude: White Lemon Fudge.

Ingredients/Directions:

Line a square baking dish with foil, butter or grease, set aside.

In a 2 quart saucepan cook and stir 3 cups White Chocolate Chips and 1 14oz. can of Sweetened Condensed Milk over low heat. When chocolate has melted, remove saucepan from heat and stir in 1/2 cup chopped Pecans, 2 tsp. Lemon Zest and 1 tsp. Vanilla. Cover and chill 2 hours.

Carefully remove foil from square pan, cut fudge into squares, store tightly covered for 1 week...if they'll last that long!


Saturday, December 8, 2012

Avocado Brownies

Extended Shelf Life for: Avocados
Photobucket
So many avocados, so little time.

It should come as no surprise that I have, yet another, avocado recipe to share here!

I made these for a potluck in late December and even whilst sitting among a homemade carrot cake, a ricotta-orange cake topped with pomegranate and preceded by numerous food items, I only brought a few of these little morsels home with me at the end of the night, which I think is a good sign.

Ingredients/Directions:
From Mary Quite Contrary Bakes

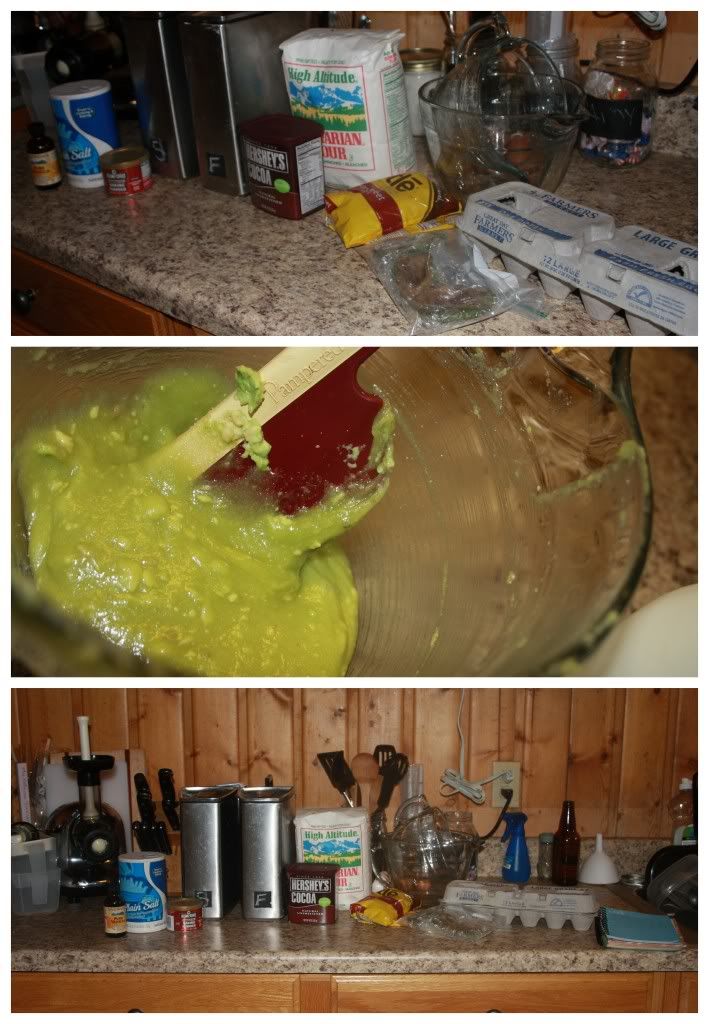
Preheat oven to 350 Fahrenheit. Grease an 8x8 or 9x9 square pan and set aside. In a bowl, whisk together 3/4 cups Flour, 1/4 cup Cocoa Powder, 1/2 tsp. Baking Powder and 1/4 tsp. Salt.

In a separate bowl, mix together 2 mashed, ripe Avocados and 8oz. Melted Chocolate. Stir in 1 cup Sugar until well combined. Add 2 eggs, 3 Tbsp. Vegetable Oil and 1 tsp. Vanilla, mix well until well combined and smooth.

Stir in flour mixture until just combined. Pour batter into pan and bake 28-32 minutes until toothpick comes out clean.

Wednesday, December 5, 2012

Avocado Bread

Extended Shelf Life: Avocados
Photobucket
The problem, so to speak, with dumpster diving is that you never know what you're going to get, which I've come to love. However, you also never know that you just might end up with a few more avocados even though you just froze a couple dozen.

The not so problematic part of this problem is, since you've done some research on how to use avocados you'll actually be quite happy to discover that the new handful of avocados isn't in quite as bad as shape as the others and doesn't require you to add chocolate to account for color issues.

So now, you get to try a non-chocolate avocado bread, although you never really complained about having Chocolate Avocado Bread in the first place.

Ingredients/Directions:
From Fleur De-Licious

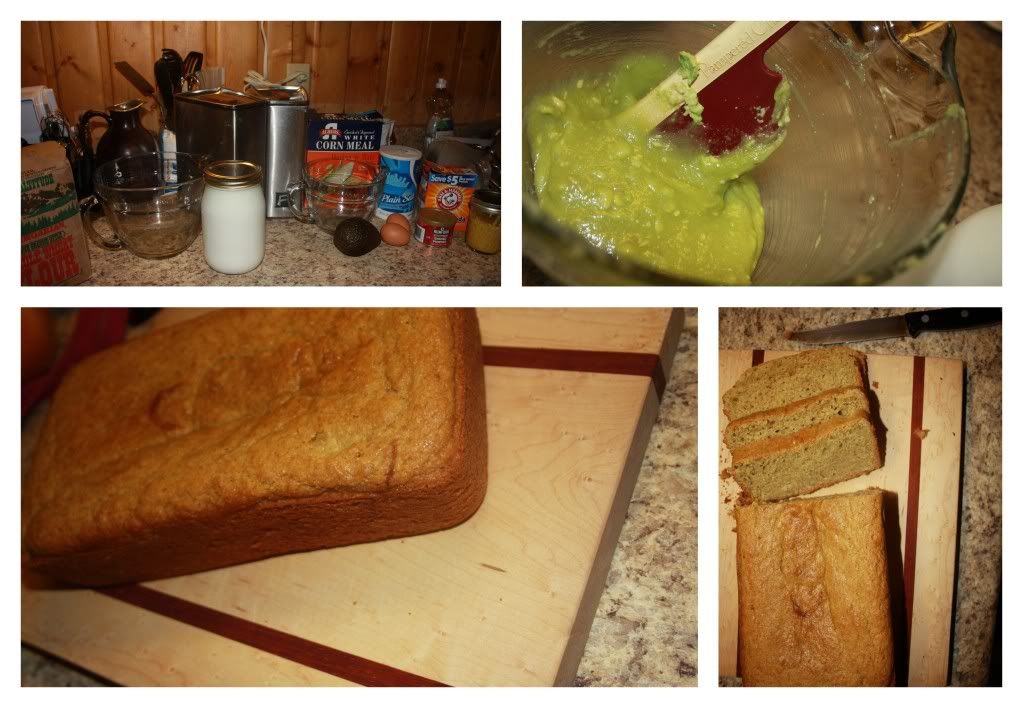
I was so intrigued by the original recipe that I didn't stray from the recipe, and I'm glad I didn't, the combination of white flour, wheat flour and corn meal was really quite amazing!

Preheat oven to 350 Fahrenheit, butter and flour a loaf pan.

In a medium bowl, whisk together 1/4 cup Corn Meal, 1 cup All Purpose Flour, 3/4 cups Wheat Flour, 1 1/2 tsp. Baking Powder, 1/4 tsp. Baking Soda and 1/4 tsp. Salt, set aside.

In a large bowl, "cream" together 2 Ripe Avocados and 1 cup Sugar with a rubber spatula. Add 2/3 cups Vegetable Oil and 2 Eggs and whisk until well combined. Whisk in 1/2 cup Buttermilk of Plain Yogurt as well as 1 tsp. Orange (or Lemon) Zest.

Add dry ingredients to Avocado Mixture until just incorporated. Pour batter into pan and bake for 40-45 minutes until golden brown and a toothpick inserted in the middle comes out clean.

Enjoy for breakfast, snack or dessert!

Wednesday, November 21, 2012

Cherry Pie

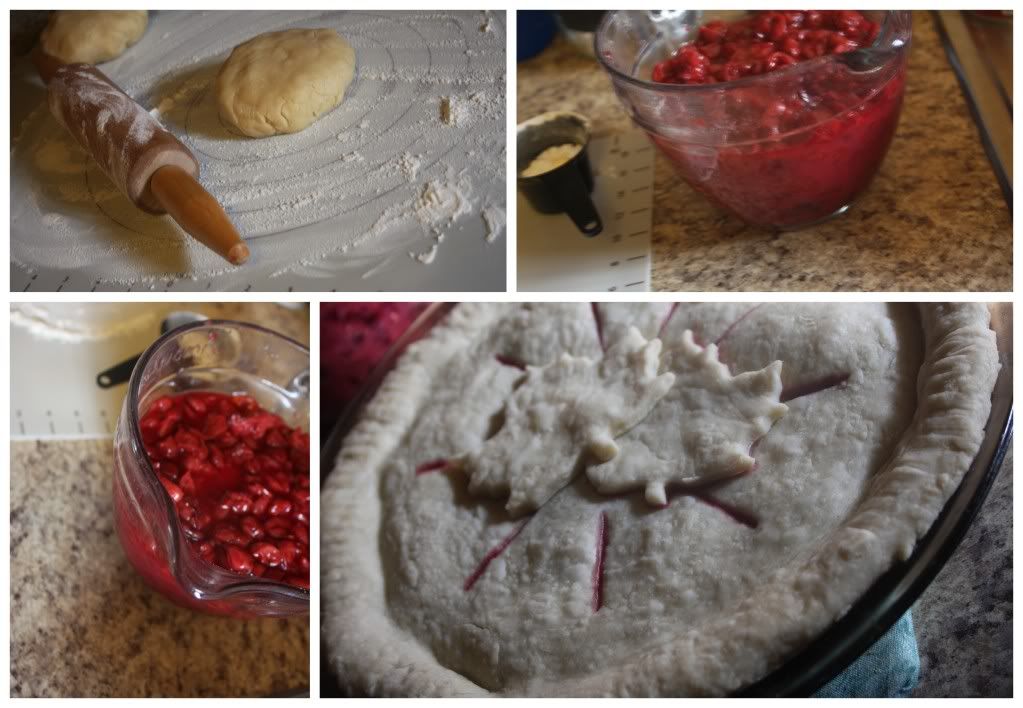
Nothing extended here, just a simple, cherry pie made with fresh cherries we bought at the farmer's market then canned, making for a quick and easy cherry pie to accompany my pie-inspired tortes for the holidays.
Photobucket
Of course I started with my go to pie crust. Then it was time to prepare the cherry filling, which, like most pie filling is basically a process of adding sugar and cornstarch and simmering until thickened.

For my cherry filling, I drained off some of the liquid, because it seemed a little over the top, threw about 4 cups of cherries and a bit of juice into a small quart pan and brought to a low simmer. From there, I simply mixed 1 cup of Sugar with 1/4 cup of Cornstarch. Pour this mix into the simmering cherry mix, stir well and heat until thickened, it's now ready to be wrapped in your pastry goodness! Use a leaf cookie cutter to add a decorative flair and pop that baby in the oven! Enjoy!

Monday, November 19, 2012

Pie-Inspired Tortes

Extended Shelf Life for: Lemons and Squash

First of all, being in the states during the holidays and partaking in holiday baking brings me so much joy!

Second of all, I've recently discovered the most amazing, fantastic use of my torte pan set and feel like I was truly 'inspired' over the holidays to make some new, delicious desserts, inspired of course by pies.

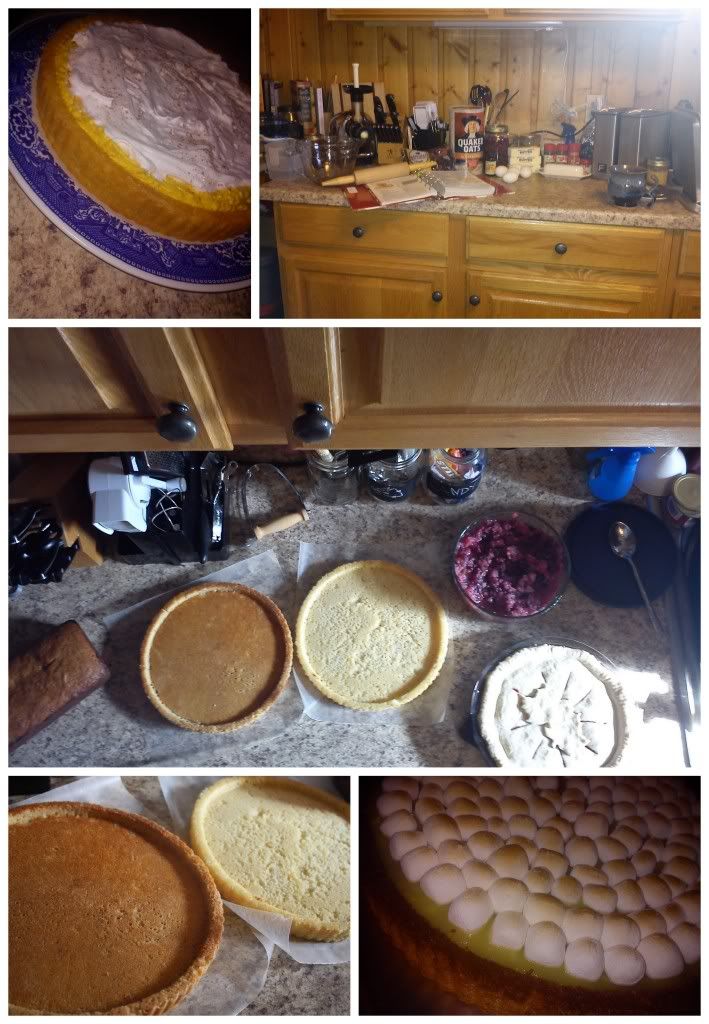
Since it was Thanksgiving, and I had recently acquired some happy little squash and pumpkins I went for a pumpkin-pie inspired torte. Additionally, since we were going to spend the holiday with my fantastic parents, and I knew that my mother loved lemon meringue, I decided to let that be the inspiration for the second torte.

Next up was making cakes in my torte pan, a pumpkin-cream cheese filling, lemon curd, purchasing whipped cream and marshmallows and hitting the kitchen!
Photobucket
First, you'll need a cake...

Ingredients/Directions:

Set 3/4 cups butter and 3 eggs out for 30 minutes until they reach room temperature.

Grease and flour two torte pans. Preheat oven to 375 degrees F.

In a large mixing bowl combine 2 1/2 flour, 2 1/2 tsp. baking powder and 1/2 tsp. salt, set aside.

Beat butter on medium speed for about 30 seconds. Gradually add 1 3/4 cups sugar and continue to beat for 2 additional minutes. Add eggs, one at a time followed by 1 1/2 tsp. vanilla. Alternately add 1 1/4 cup milk and flour mixture until combined, split between pans.

Bake 20-25 minutes until golden brown and a toothpick inserted comes out clean. Cool for 10 minutes, remove from pans. Fill as desired.  

Note: If you are making the Pumpkin Cheesecake Torte, I recommend adding spices such as nutmeg, cinnamon, cloves and allspice to the batter. On the other hand, if you're preparing the Lemon 'almost' Meringue Pie Torte, I recommend adding a teaspoon or so of lemon zest to the batter, for added depth and flavor.

For the Pumpkin Cheesecake Torte...

Ingredients/Directions:

I simply mixed about 1 or 2 cups of Pumpkin/Squash Puree with soft cream cheese, added some brown sugar and spices such as cinnamon, nutmeg, cloves, etc. However, I recommend looking for a more precise pumpkin cheesecake dip/filling to ensure the best, fullest flavor. For some good ideas on where to start, scroll through this page I created on Squidoo, you'll find some of the best pumpkin cheesecake dips on the web!

To assemble the Pumpkin Cheesecake Torte simply plop the filling into your torte cake, spread some whipped topping on top and sprinkle with nutmeg, you're good to go!

For the Lemon Almost-Meringue Torte...

Ingredients/Directions:

Buy or prepare Lemon Curd.

Fill torte cake with lemon curd, arrange mini-marshmallows over the top in any design or amount you want to, turn on the broiler and place your marshmallow covered dish under the broiler for 3-5 minutes (they'll burn quickly...which we actually think tastes quite nice, but for presentation, golden is better). The marshmallows will get toasty and melty and you'll have an extremely delicious and tart dessert to share with all your favorite people!
Sunday, October 14, 2012

Red Velvet Beet Brownies

Extended Shelf Life for: Beets
Photobucket
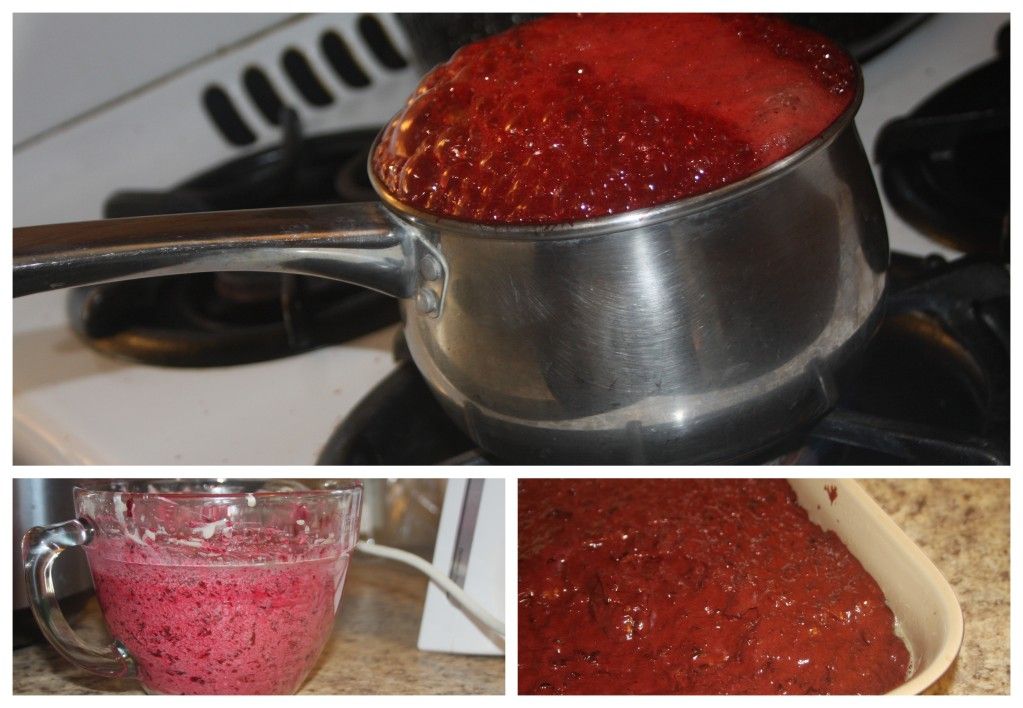
The truth is, I don't really like beets and never have any clue what to do with them when the man brings them home. Also, while I enjoy healthy alternatives, I think making brownies with lots of rich butter and sugar is acceptable and honorable - you're making brownies for goodness sake, the whole objective is to have something sinfully delicious - just don't eat a pan everyday and that's being healthy (in my book anyway).

But, back to the subject at hand, beets and brownies, a healthy alternative or a fantastic way to use up beets, this brownie recipe comes from the great, always inspirational, Vegetarian Times.

Ingredients/Directions:

Preheat your oven to 350 F and prepare a 9 inch or 8 inch square pan with cooking spray.

Process two large cooked beets in a food processor or on the mincing option of a high-quality juicer if you have one. You will need a total of one cup of beet puree total.

In a separate bowl, whisk together 1/2 cup softened or melted Butter and 1 cup Sugar, until smooth. Add 1 tsp. Vanilla, then whisk in two large Eggs.

In a small bowl, whisk together 1/2 cup Flour and 1/4 cup plus 2 Tbsp. Cocoa Powder. Fold flour mixture into beet mixture, then add 1/2 cup mini-chocolate chips.

Pour into prepared pan and bake for 30 minutes or until toothpick comes out clean. Enjoy!

Wednesday, September 26, 2012

Pear Cobbler

Extended Shelf Life for: Pears
Frankly, I do not like pears. I like Asian pears, the big ole pears that look like apples and abound during the fall and winter in places like South Korea, but Bartlett pears...not so much.They're just too grainy.

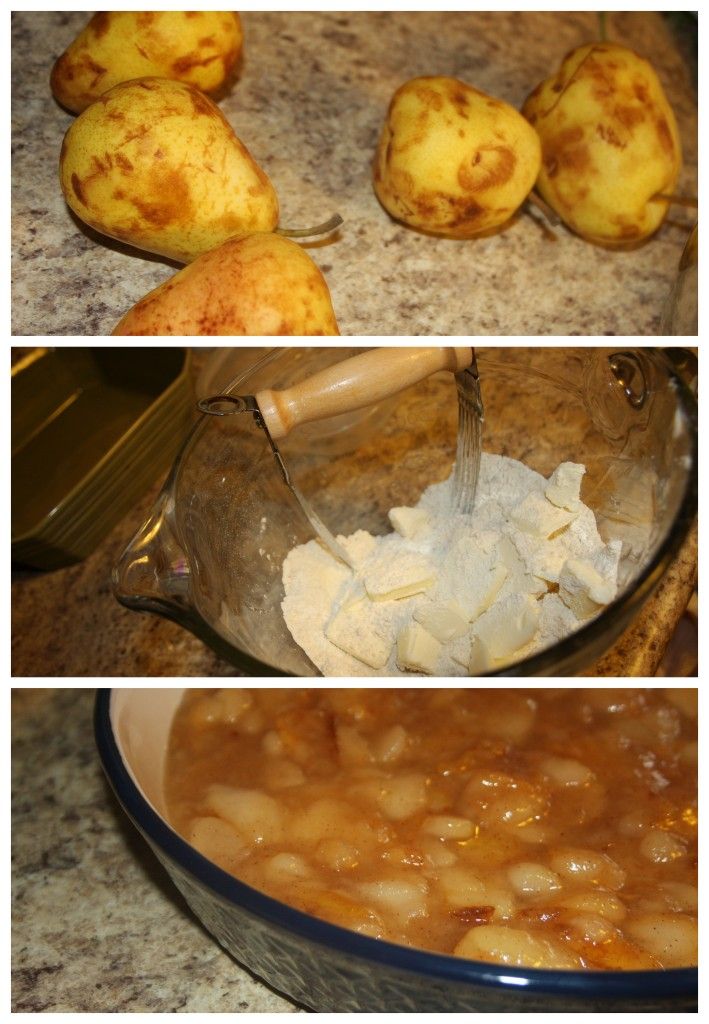
Not to mention, when we dive pears, they just look a little rough and I have a hard time biting into them. But I have no problem skinning and slicing them and making a nice pear cobbler on a cool fall evening!
Photobucket
Ingredients/Directions:

Preheat oven to 400 F.

Prepare cobbler topping by stirring together 1 cup Flour, 2 Tbsp. Sugar, 1 1/2 tsp. Baking Powder, 1/4 tsp. Salt and 1/2 tsp. Cinnamon. Cut in 1/4 cup butter with a pastry cutter, fork or two knives. 

In a large sauce pan stir 6 cups sliced and peeled Pears, 1/3-1/2 cup Sugar (to taste) and 1 Tbsp. Lemon Juice, bring to a boil. Stir occasionally once fruit begins to release it juices. Reduce heat and simmer, covered, about five minutes until fruit is tender. Combine 2 Tbsp. Cornstarch with 1 Tbsp. Water, stir into filling and cook until thickened.

In a small bowl, stir together 1 egg and 1/4 cup milk. Add to flour mixture and stir until just moistened.

Fill 2-quart baking dish with filling before spooning dough on top of filling. Bake 20-25 minutes or until top is golden brown. Let cool for about an hour. Serve with ice cream or at least enjoy with good friends you haven't seen in a long time!

Friday, September 21, 2012

Strawberry Cheesecake Bars

Extended Shelf Life for: Strawberries

Photobucket
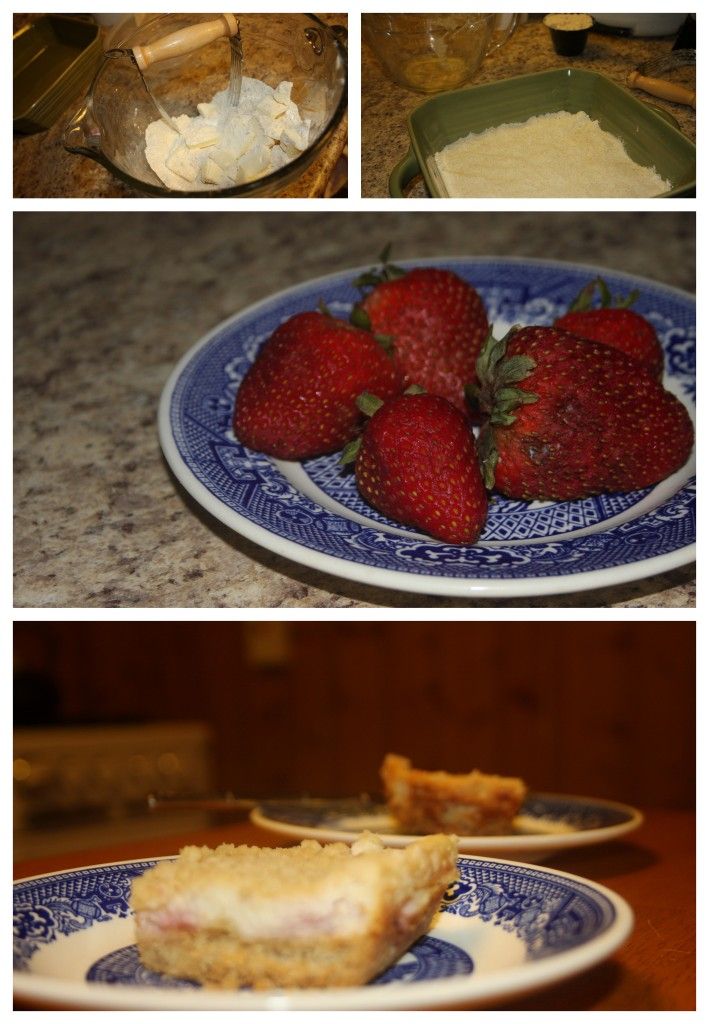
Truth be told, I get pretty excited when a batch of dumpster strawberries make their way into 519 Kitchen. A second truth to share is that I really missed cream cheese while living in South Korea so I'm definitely incorporating it into as many meals, post-meals, etc. as I possibly can. That being said, when dumpster strawberries arrived and I realized cream cheese was just waiting to be used, I cracked open a cook book and went to work tweaking and adjusting until these flaky little morsels came hot out of the oven.

Ingredients/Directions:

Combine 1 cup Flour and 1/3 cup Brown Sugar in a medium bowl. Cut in 6 Tbsp. Cold Butter until you have a mixture of fine crumbs. Set aside 1/2 cup of this mixture for topping while pressing the remaining crumbs into an non-greased square baking dish. Bake crust at 350 for about 15 minutes.

While crust is baking, dice a handful (depending on your 'harvest') or two of strawberries and sprinkle with sugar, to taste (2-4 Tbsp.). In a small bowl, beat 1 package Cream Cheese for 30 seconds on medium speed. Add 1/4 cup Sugar and beat until fluffy. Add 1 Egg, 2 Tbsp. Milk, and 1/2 tsp. Vanilla and beat until well mixed. Fold in syrupy, sweetened, deliciously salvaged strawberries.

Spread cream cheese mixture onto crust, sprinkle with reserved topping. Bake 20-25 additional minutes until done. Cool in pan, store in the refrigerator (if they last that long).

Thursday, September 13, 2012

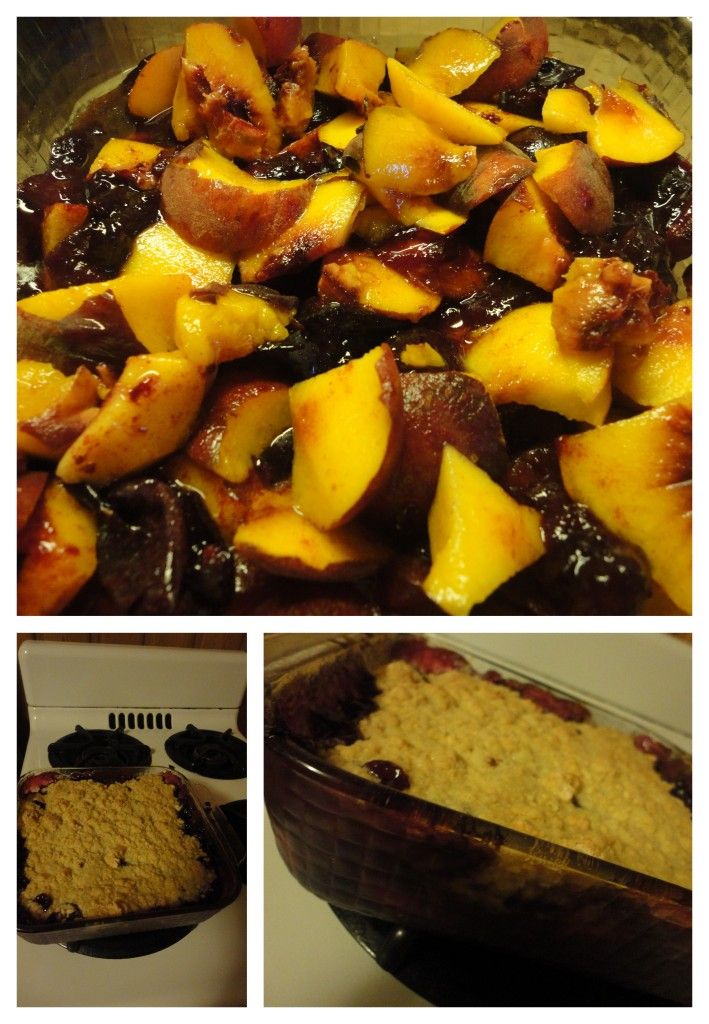
Peach and Plum Cobbler

Extended Shelf Life: Peaches and Plums
Photobucket
I've been happy to return home and enjoy the fruits of my neighbor's CSA, the only agreement I've been required to make is to share anything made with their CSA share with them ^^ We thoroughly enjoyed sharing this cobbler of mixed peaches and plums.

Ingredients/Directions:

Preheat oven to 400 F.

Toss 6 cups chopped peaches and plums with 1 Tbsp. Cornstarch, 1/4 cup Brown Sugar, and a dash of Cinnamon. Tumble into a prepared square baking dish.

For topping, mix together 1 cup Flour, 2 Tbsp. Sugar, 1 1/2 Tsp. Baking Powder, and 1/4 tsp. Salt. Cut in 1/4 cup butter. Separately, mix together 1 Egg and 1/2 cup Milk. Add to the flour mixture, stirring until just moistened. Spoon on top of the filling. Bake 20-25 minutes until golden brown, cool for about an hour before serving.

Thursday, July 19, 2012

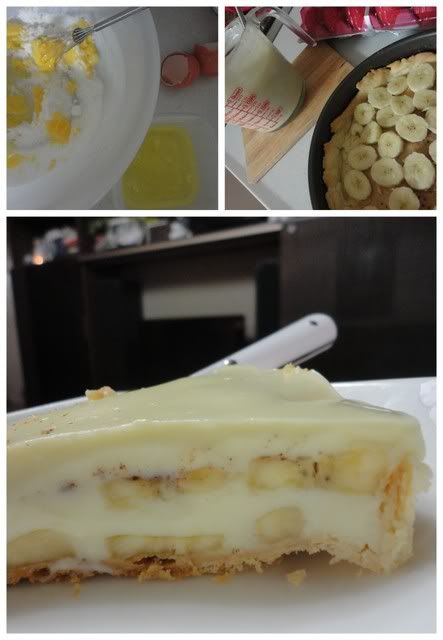
Banana Cream Pie


Photobucket


Ingredients/Directions:

Prepare a single pastry crust that has been pricked at 400 F for about 12 minutes or until lightly golden.

Meanwhile, heat 3 cups of Milk in microwave for approximately 3 1/2 minutes. 

While milk is heating, combine 1/3 cup Cornstarch and 2/3 cups Sugar. Add 3 Egg Yolks to the sugar mixture. 

Add 1/2 cup of the hot milk to the egg/sugar mix, stir and gradually add remaining milk, this will be your custard. 

Continue to cook the custard in the microwave at 2-3 minute intervals, stirring in between intervals until you reach the desired consistency. Chill custard.

Layer bananas (2-4 fresh) and custard in the pie crust, chill and serve with whip cream.

I sprinkled some cinnamon and nutmeg on top of my bananas for added pizzazz!

Enjoy with friends on a weeknight card game gathering!

Thursday, July 12, 2012

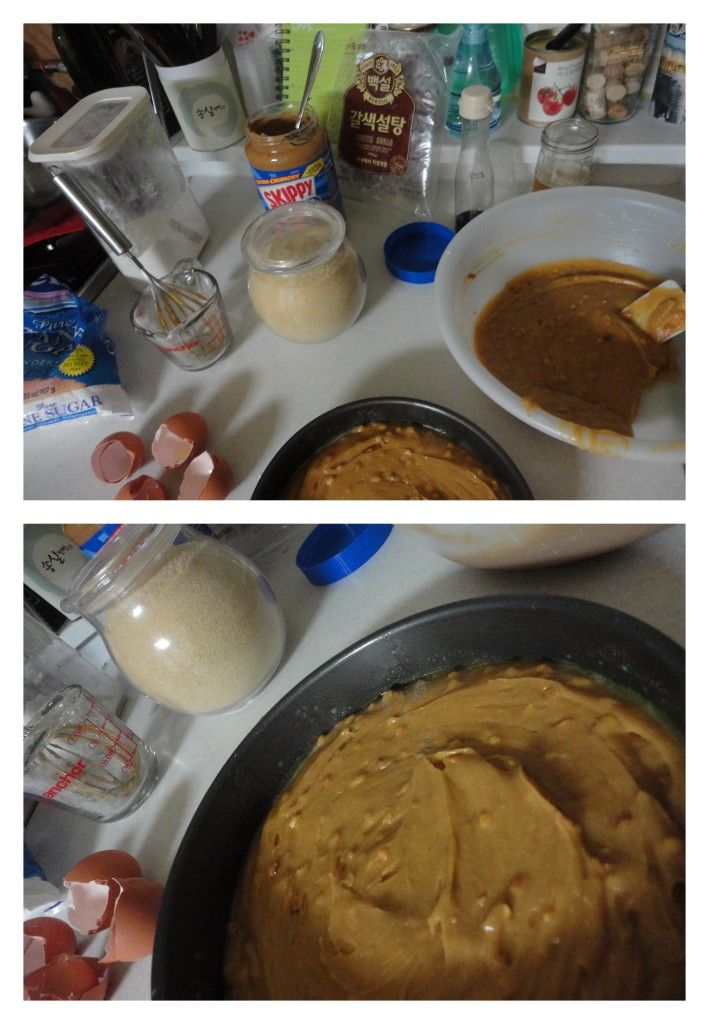
Peanut Butter Brownies


Photobucket
We have a lot of peanut butter, much more than we can use before our grand departure, but that doesn't stop me from trying ^^

I made these to share with my co-workers as a "thank-you" gift for being my co-workers for the past year. They were quite thrilled with them and, I must say, I was not disappointed.

Ingredients/Directions:

In a bowl, blend together 1/2 cup Peanut Butter, 1/4 cup Butter, 1 tsp. Vanilla and 1 cup Brown Sugar. Add 2 Eggs, one at a time, beating well after each addition. Stir in 2/3 cup Flour. Spread batter in a well-greased 8x8 baking pan. Bake at 350 (177) for 20-30 minutes until golden and bake through (use the toothpick test). Cool and enjoy or add a peanut butter icing of 1 cup Peanut Butter blended with 1/3-1/2 cup Powdered Sugar.

Monday, July 9, 2012

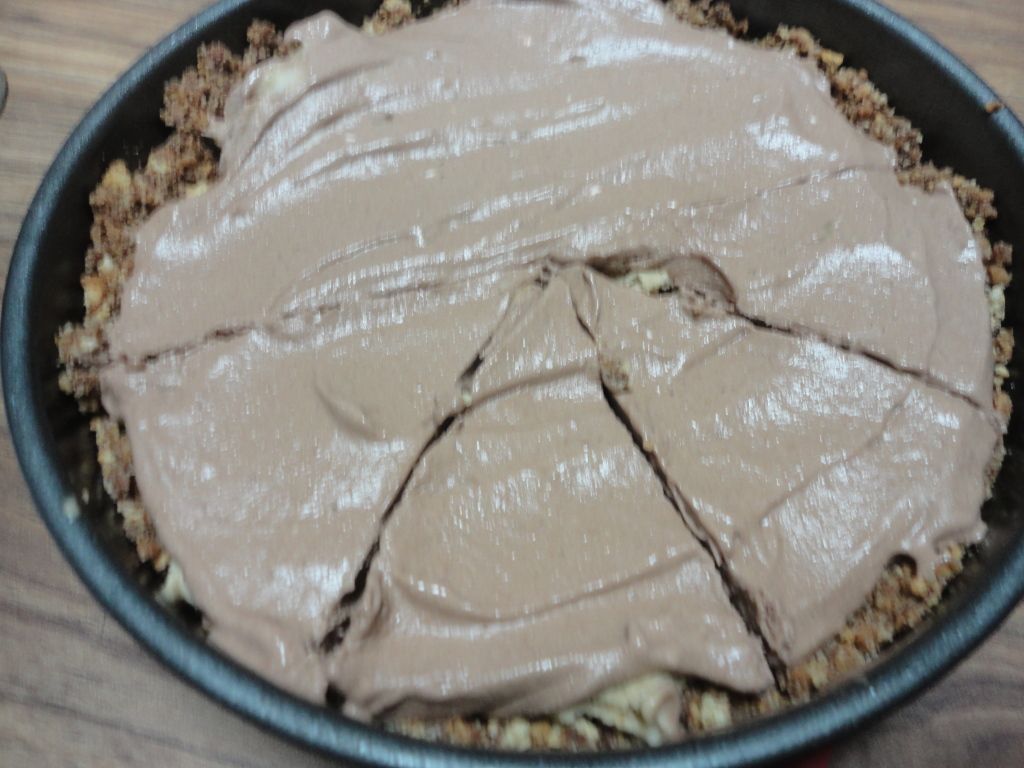
Peanut Butter and Chocolate Banana (n)Ice Cream Pie


Photobucket


Well this is basically the same idea...but in Pie form.

Graham Cracker Crust - or Oreos or Nilla Wafers, anything would do.

Banana (n)Ice Cream with Peanut Butter blended in.

Banana (n)Ice Cream with Coco Powder blended in.

Crust, Peanut Butter Layer, Coco Layer = P.B. Chocolate Banana (n)Ice Cream Pie!

Keep in the freezer, let set at room temp about 20 minutes before serving for easy slicing and forking^^

Thursday, July 5, 2012

Brown Butter Plum Cobbler


Photobucket

The thing I undoubtedly love about Korea is that if I want to know what is the produce of the season, I merely look out the window of my bus as I pass a handful of old men and women selling various fruits and vegetables. Whatever is being sold at the best prices, is undoubtedly what I should be putting into our meals.

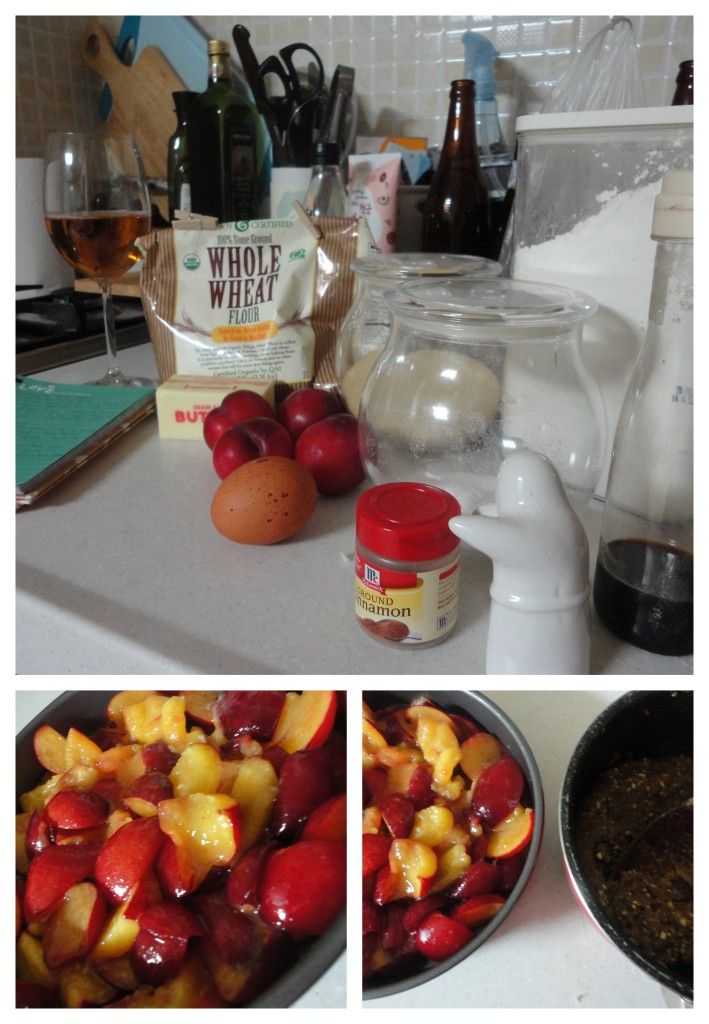
So, mourning the tardiness of pie adventures, as in missing out on strawberry season, I figured it would do my skills some good to work with the glorious little plum that was popping up in all the little vendor stalls these days and quickly googled my way to this recipe which served as the starting (and essentially, finishing) point of this summer evening plum cobbler.

Ingredients/Directions:

In a small bowl whisk together 1/2 cup A-P Flour, 1/4 cup Wheat Flour, 1/4 tsp. Baking Powder, 1/8 tsp. Salt and 3 Tbsp. Ground Almonds.

Separately, in a small sauce pan brown 1 stick of Butter, melting it completely and continuing to cook, stirring often, until it has bubbled and turned a nice brown, nutty color. Cool the butter slightly and mix in 1/2 cup Sugar followed by 1 Egg Yolk and 1 tsp. Vanilla extract. Refrigerate. 

For cobbler filling, combine 1 Tbsp. Cornstarch with 1/4 cup Brown Sugar, Cinnamon and Ginger to taste. Toss into this sugar mix 1 1/2 lbs. quartered or halved Plums.

Tumble plums into a greased baking dish, plop on the browned butter dough evenly and bake 40-45 minutes. 

Will be tart. Can add additional sugar to the cornstarch mixture if you desire a sweeter summer treat.

Would be delectable with vanilla ice cream or fresh whipped cream on top!

Sunday, July 1, 2012

Pineapple Curd and Hummingbird Cake


Photobucket
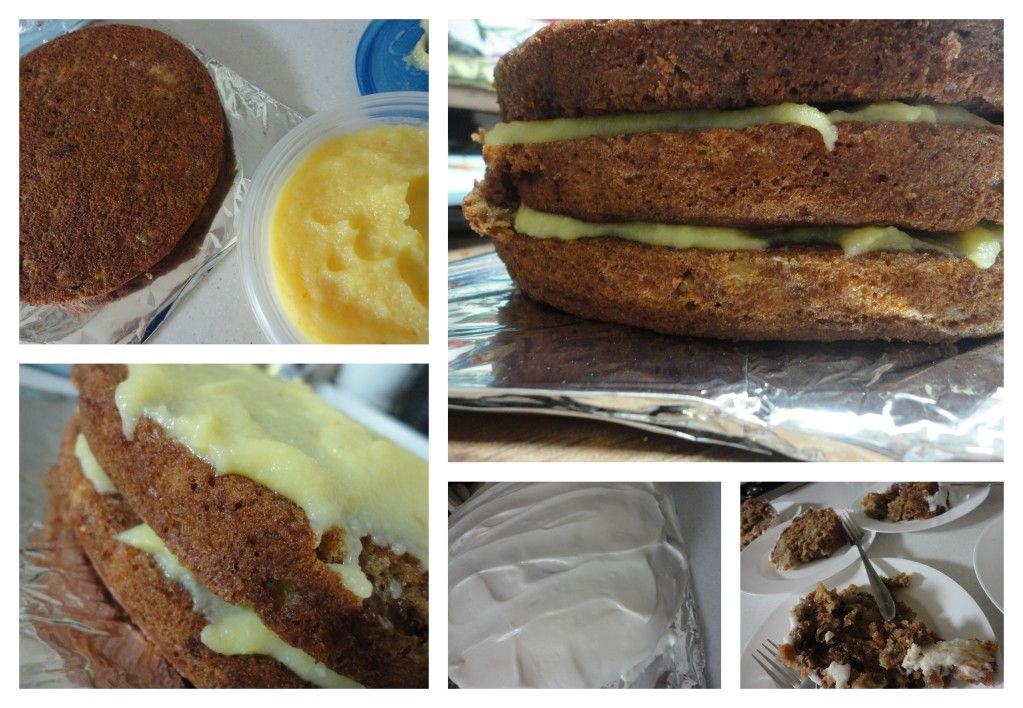
As I began to fell like I was the master of curds and realize that it was essentially fruit juice plus eggs to make a kind of custard, I began to think it might just work with a wider variety of juices than previously considered and upon realizing I had just the right amount of pineapple juice on hand, I decided it was as good of time as any to go into experiment mode.

Turns out, substituting pineapple juice for lemon juice in a typical Lemon Curd recipe results in some deliciousness to be sure.

For true delicacy, make a Hummingbird Cake, spread some Pineapple Curd between the layers and top with either Cream Cheese Frosting or Yogurt Frosting...sure to please!
Related Posts Plugin for WordPress, Blogger...