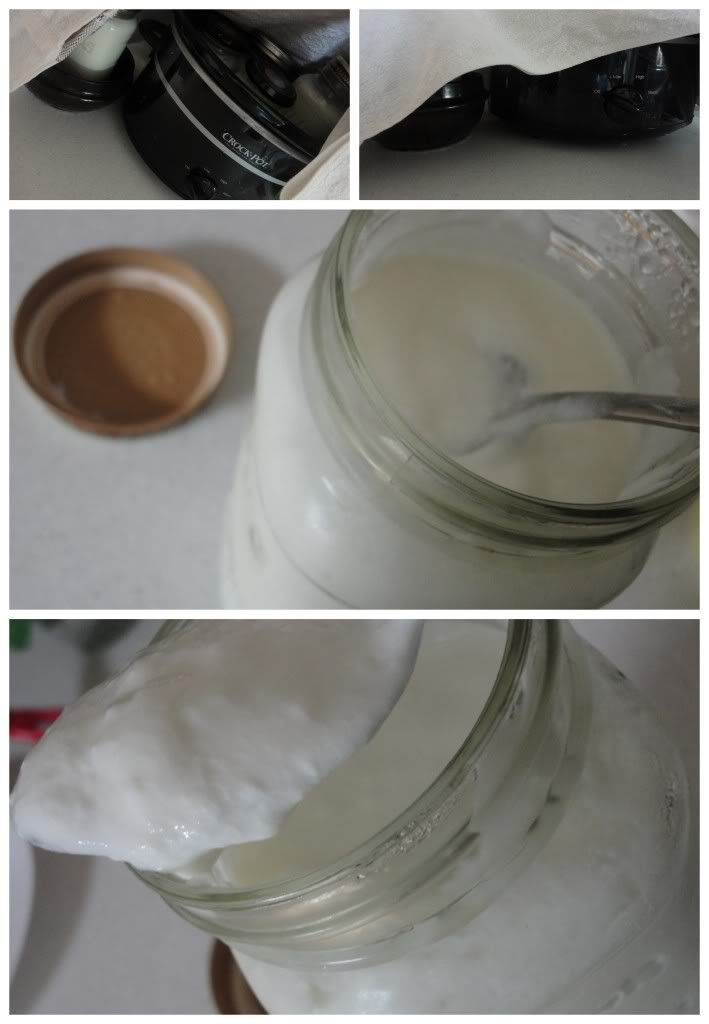
But, don't let easy convince you it doesn't take a lot of time. Because, in fact, it's a lengthy process of waiting. But it's easy. You can do laundry, walk your dog, read a book, clean the bathroom, visit with neighbors, drink coffee and even take a nap or go to bed during the process. So it's easy. But lengthy.
I started with this recipe pinned by a friend of mine from Neo-Homesteading
This involves 3 steps...
First, heat 8 cups (1/2 gallon) of milk on the stove-top until the temperature reads 110*F (~43*C). When the milk reaches the required temperature add 2 Tbsp. - 1/2 cup of live, culture yogurt. Living in South Korea, I can't read the labels well enough to know if there is life in my yogurt, so I grabbed one that said Natural and translated as 'Fresh Cream Plain' flavor - it was sweeter than I anticipated, but worked perfectly and didn't cause my own yogurt to be sweet.
Second, transfer hot milk and yogurt mixture into sterilized glass jars. I don't think I really sterilized my jars, just boiled some water in the electric kettle, swished it a round and then dumped it out before adding the milk/yogurt mixture.
Third, incubate. Now is the lengthy part where you manuever a way to maintain the temperature of 110* for the next 8-24 hours. I used the crock-pot which involved me turning it on to low to preheat and then turning it on again for 5 minutes every hour to maintain the temperature and keeping it covered with a towel. Here is an extensive and complete post about other incubating methods.
Once it solidifies, you can let it cool a bit before placing in the fridge and get stoked to enjoy it for breakfasts and snacks.
Now, a few notes:
- I found a blogger who did the whole process in her crock-pot, check it out, I might try it, but I'm not sure.
- A lot of posts I've seen mentioned the yogurt didn't seem to set quite right or thicken up nicely. There's all kinds of suggestions, add more yogurt in the beginning, add gelatin, etc. I don't know why mine was as thick as it was...but it was.
- Another blogger (crock-pot master from above) strained her yogurt to have a thick yogurt and the byproduct of whey. I've used whey in the past from Mike's cheese making - it's GREAT for animals and a great substitute in any bread recipe which calls for milk. I've also read of people freezing it as ice cubes and using it in smoothies to boost the nutrition level.
- Two of my jars took less than 24 hours to thicken (I went to sleep thinking I had failed at yogurt making to wake up to 2 beautiful jars of perfect yogurt!) The other three took longer...not sure why and are a bit more like sour cream than yogurt, which is fine for me now...I think, but I'm a bit nervous that I just made extremely rotten milk @_@
Either way, rotten milk or not, home-made yogurt was far easier than I imagined it to be and I'm really looking forward to keeping it on hand!
For tips on making yogurt in South Korea and for some general lessons I've since learned, check out this update!

No comments:
Post a Comment